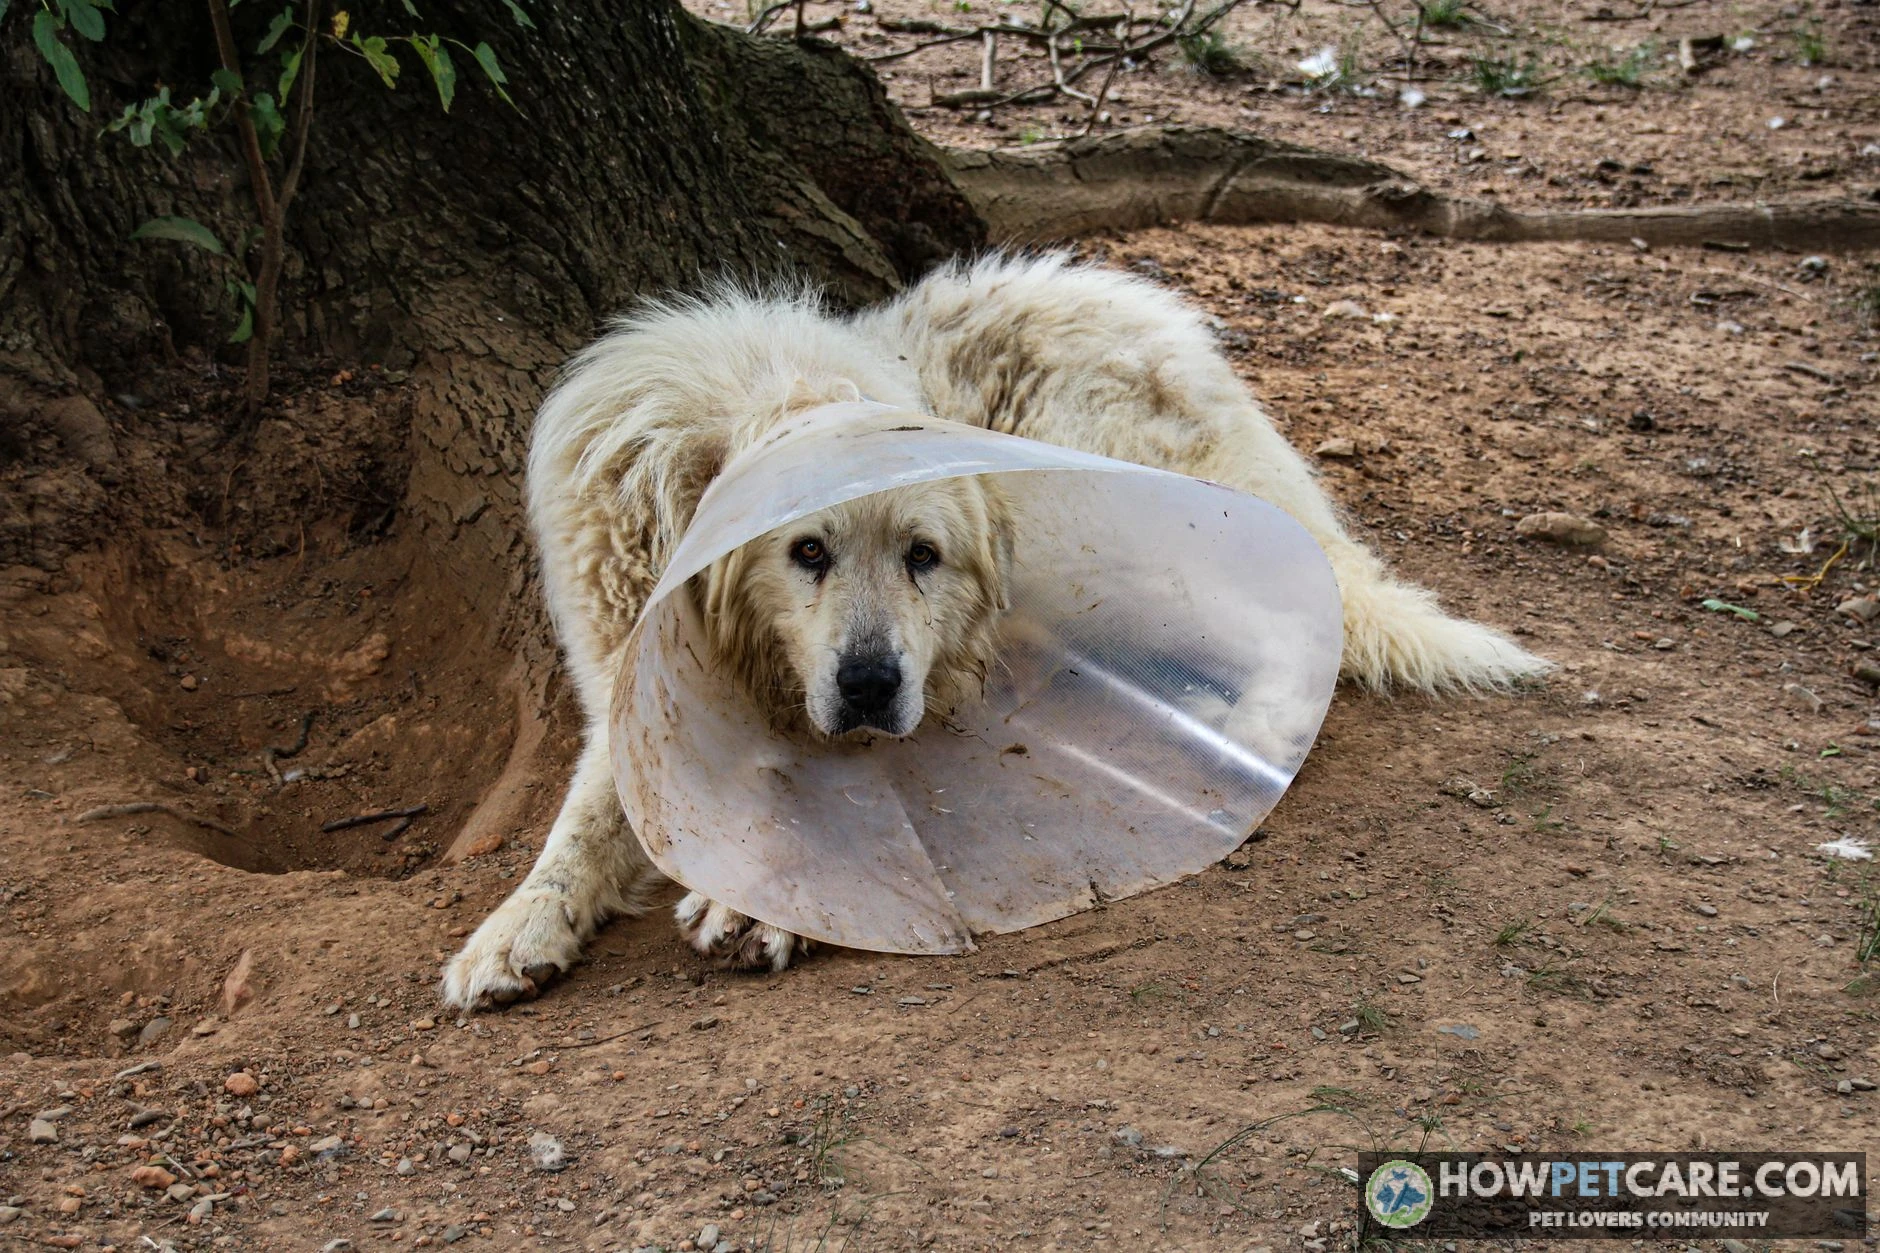

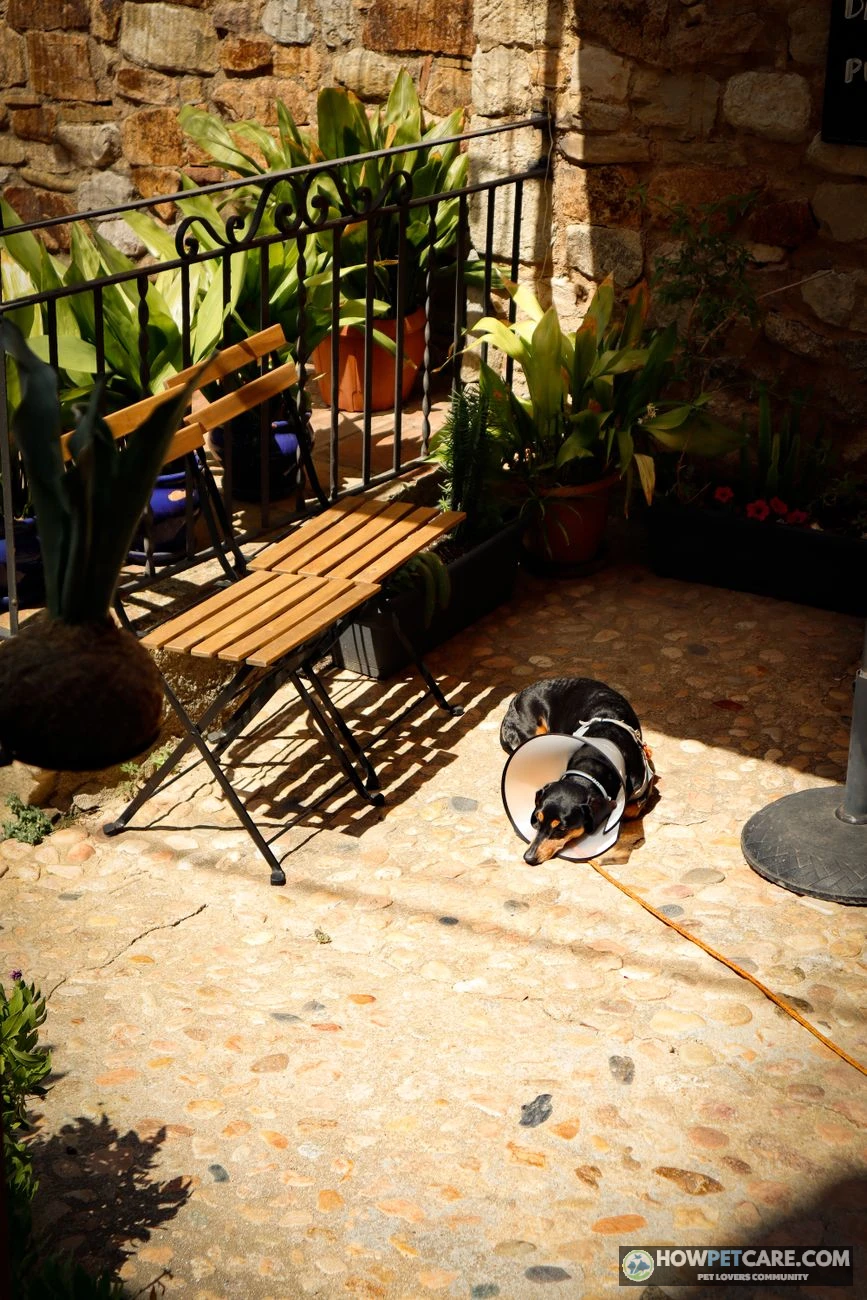
The purpose of a dog cone is to stop a dog from licking, chewing, or scratching a healing wound. The rigid barrier extends past the nose so the mouth and paws cannot reach stitches or irritated skin, protecting the site from infection, delayed healing, and self-inflicted injury until a vet clears removal.
A dog cone keeps your dog from licking, chewing, or scratching a wound while it heals. The barrier around the head protects stitches and irritated skin from damage and contamination. It is temporary protection, not a punishment.
People also call it an Elizabethan collar, e-collar, or "cone of shame." No matter the name, the device has to actually stop your dog from reaching the area. It also needs to fit securely without rubbing or restricting breathing.
The purpose of a dog cone: it keeps your dog’s mouth and paws off a healing wound
How a cone physically blocks licking and chewing
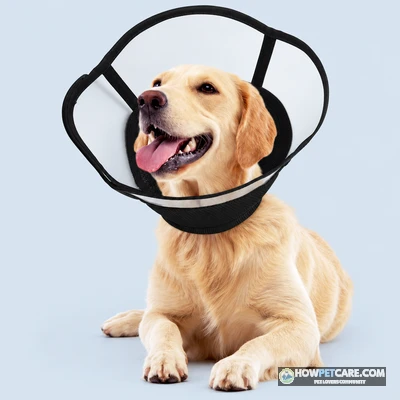
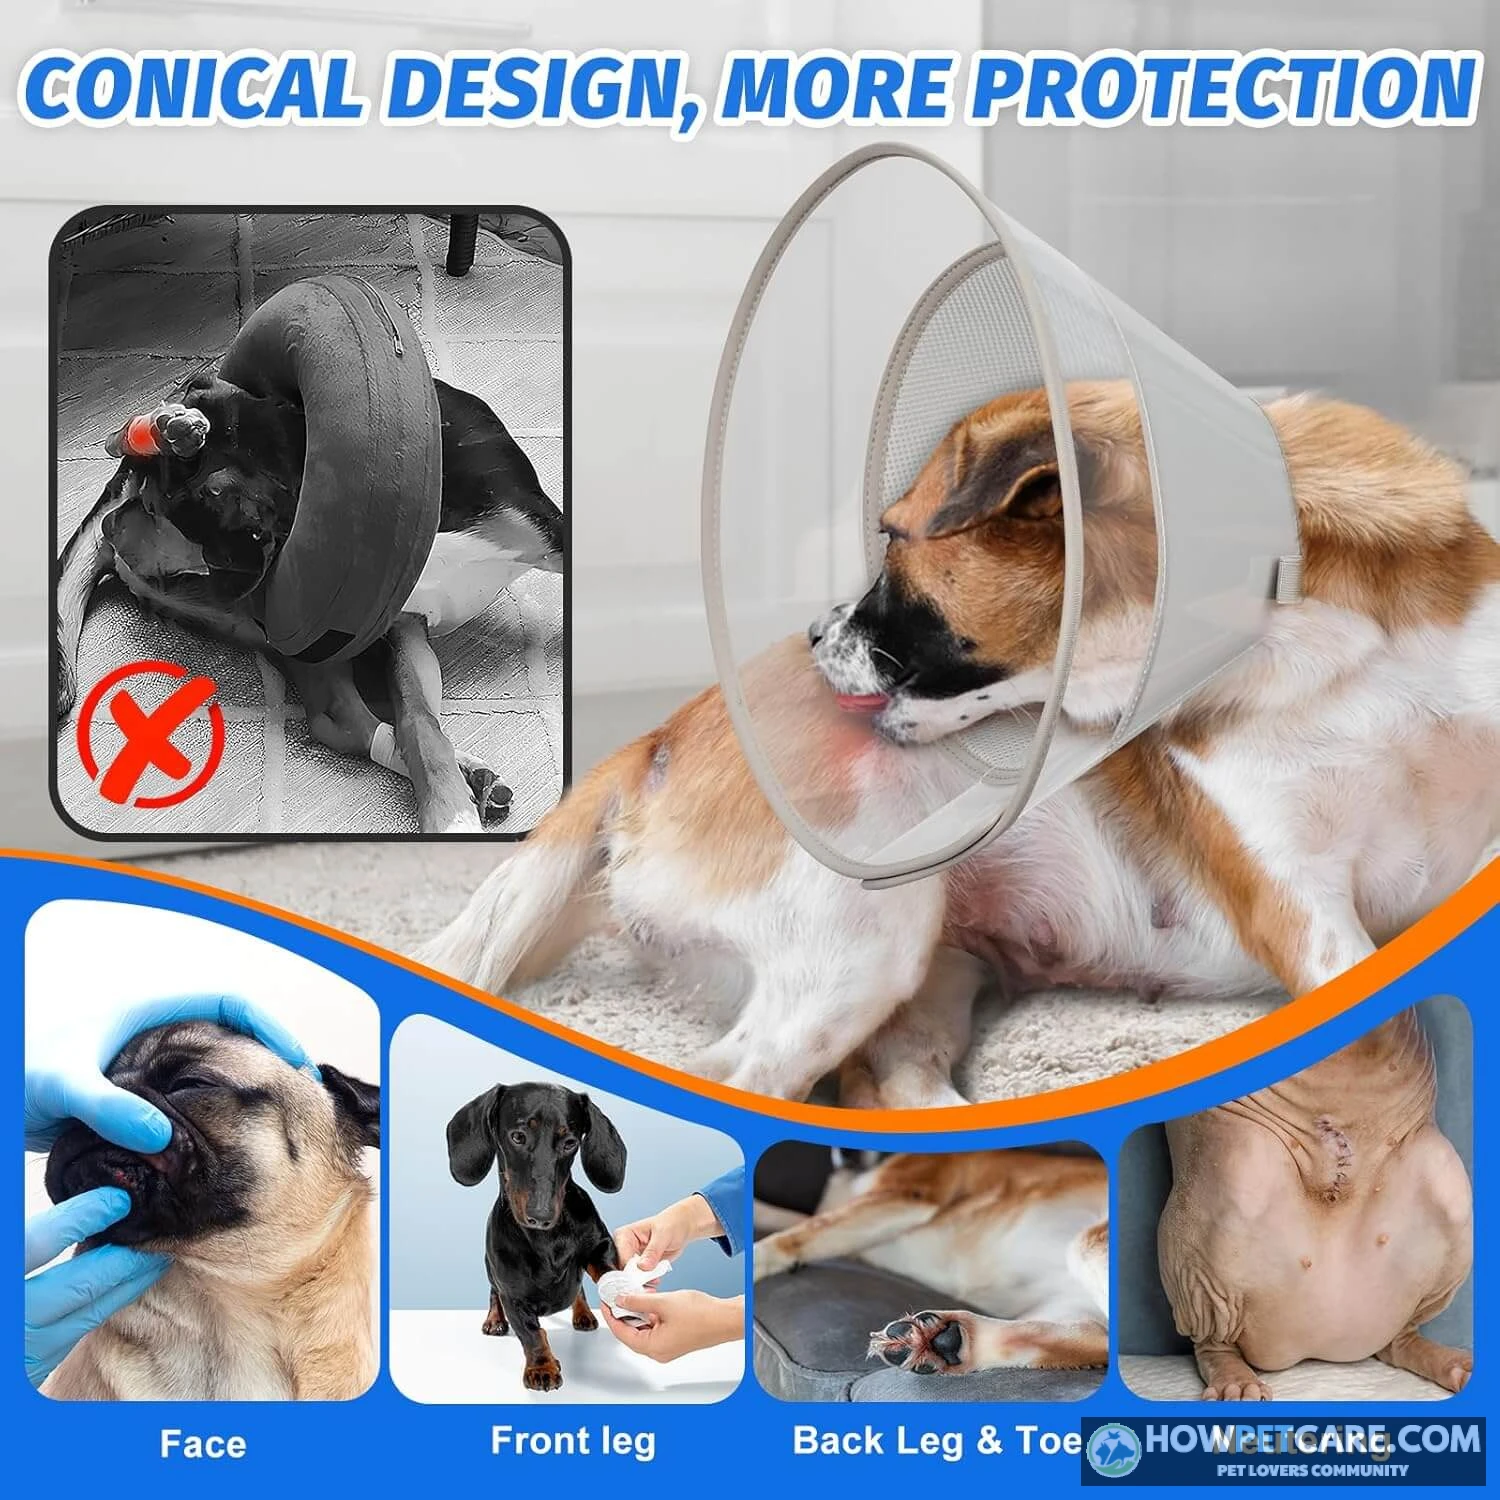
A cone forms a wide barrier around the neck and head. The rim should extend past the nose, which stops your dog from bending around it to reach the protected area. Depending on the design, the cone can also make it harder to scratch the face or rub the head against furniture.
The purpose is self-trauma prevention: licking, chewing, and scratching can injure skin that is trying to heal. Vets commonly use cones after surgery, for wounds and bandages, and for conditions such as hot spots. Your veterinarian may recommend one for an eye, ear, or facial injury, too.
Why spay and neuter incisions need protection
Dogs may lick an incision even when it looks clean and closed. After a spay or neuter, the surgical site can be hard for an owner to watch constantly, and a few unattended minutes may be enough for a dog to irritate it. Licking can introduce bacteria, delay healing, pull at stitches, or reopen the wound.
That is why a dog may need to wear a cone after surgery even if they seem comfortable or the incision looks small. The cone protects the site while you cannot directly supervise your pet.
What can go wrong if your dog gets to the wound
Repeated licking can damage skin and stitches. It may lead to infection or a wound that needs veterinary attention. A dog can also create or worsen a hot spot by persistently licking an itchy area. Do not wait for visible damage before using a cone your veterinarian prescribed.
How long a dog has to wear a cone after surgery or injury
There is no single end date for every dog. Duration depends on the procedure or injury, the dog’s health, and how the site is healing. For many routine surgeries, including spay and neuter procedures, a typical general range is 7–14 days. That is not a guarantee or a substitute for your veterinarian’s instructions. Orthopedic procedures, larger wounds, complications, or persistent skin problems may require a different period.
Typical timelines by situation
| Situation | What to expect |
|---|---|
| Routine spay or neuter | Often around 7–14 days as a general norm; follow the clinic’s specific instructions. |
| Other surgery or a significant wound | The required period varies with the procedure and the veterinarian’s assessment. |
| Hot spot or skin irritation | Protection may be needed while the underlying cause is addressed and the skin heals. |
| Bandaged paw or limb | Keep protection in place for the period your veterinarian recommends, and follow any bandage-care instructions. |
Keep the cone on whenever your dog is unsupervised unless your veterinarian has specifically approved another plan. Do not decide based on the calendar alone. A surface can look better before it is ready to tolerate licking or rubbing.
Why itching gets worse as the wound heals
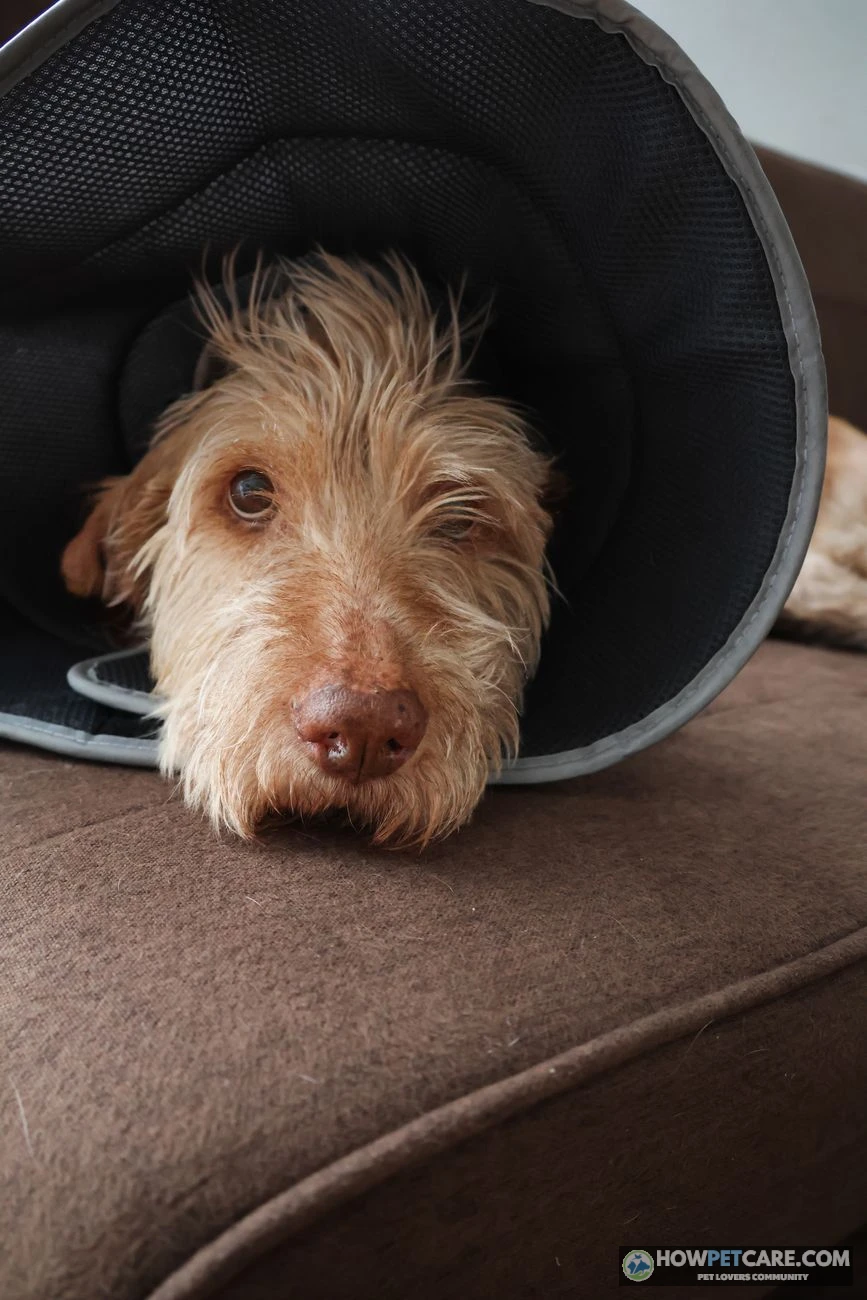
Healing skin can feel itchy, so a dog may become more interested in the area just as it looks improved. This is one reason early cone removal can backfire. Use the visible healing checks later in this guide, and get veterinary confirmation before taking the cone off for good.
 You might be wonderingWhat is dog boarding?What Is Dog Boarding? Definition, Costs & How to ChooseRead the answer
Plastic cone, inflatable collar, soft collar, or recovery suit: choosing by wound location and temperament
The right device depends first on where the wound is. Comfort matters, but a comfortable device that lets your dog reach the injury is not protective. Alternatives such as inflatable collars and recovery suits do not protect every wound location. Get your veterinarian’s approval for the specific injury.
Matching the device to where the stitches are
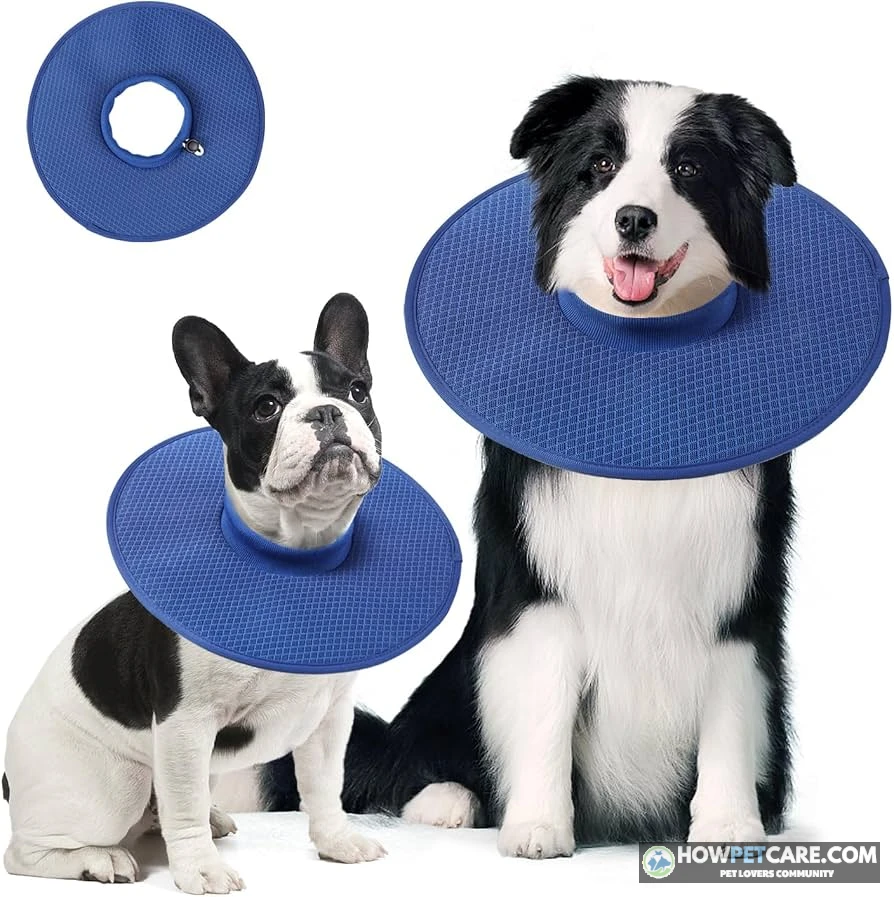
| Device | Best for wound location | Suits which dogs (activity level and flexibility) | Comfort | Typical price range | Main drawbacks |
|---|---|---|---|---|---|
| Plastic cone (rigid e-collar) | Head, ears, face, neck; reliable barrier for many body wounds | Determined or flexible dogs; useful when a secure barrier matters | Low to medium; bulky and can bump furniture | About $13–$35 for many commercial recovery collars; actual prices vary. | Can limit peripheral vision and make eating or moving awkward at first. |
| Inflatable collar | Often neck or upper-body sites, depending on reach | Calm, less flexible dogs | Often more comfortable for resting and eating | Varies by size and design | A flexible dog may reach flank, rear-end, or paw wounds; can be punctured. |
| Soft fabric collar | Some head, ear, or upper-body sites, if it blocks access | Gentle dogs who do not push through barriers | Padded and quieter than rigid plastic | Varies by size and design | Can bend or shift; may not stop a determined dog. |
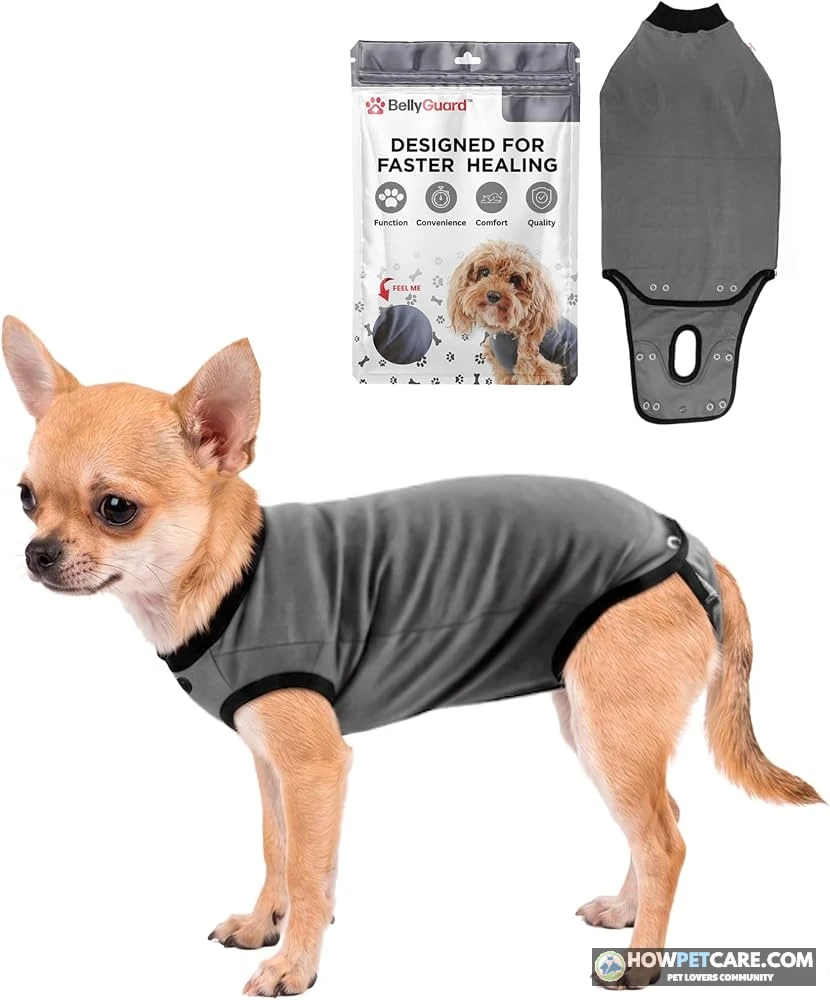
| Recovery suit or surgical shirt | Abdomen, chest, back, and some spay incisions | Dogs who struggle with a cone and can rest calmly | Often feels like clothing | Varies by size and design | Does not protect head or paw wounds; toileting and wound checks require access. |
| Protective boot or bandage cover | Paw or lower-limb sites when approved | Dogs who tolerate the device and do not chew through it | Depends on fit and material | Varies | May not stop chewing; a cover or bandage can cause problems if wet or improperly fitted. |
| Combined devices, such as a suit plus collar | Multiple sites or an awkward-to-reach torso wound | Agile dogs who defeat one device | Can be bulky | Costs vary by the devices used | More fit and monitoring demands; ask the veterinarian before combining. |
Start by identifying the wound location. Then consider how flexible and determined your dog is, and weigh comfort against cost. When an alternative doesn’t block access, a rigid plastic cone is often the more dependable fallback. If your dog has more than one wound, a veterinarian may approve a combination such as a recovery suit plus an inflatable collar.
Can you use two devices at once?
Possibly, but layering is not automatically safer. Two devices can interfere with movement, fit, toileting, or the protection you intended. Ask the clinic to check the combination on your dog. They can confirm that each wound remains covered and that your dog can breathe, drink, and move safely.
DIY and homemade cones: when they are and are not safe
A homemade barrier may have sharp edges, weak fastenings, or the wrong length. It can slip off or fail to block the wound. Do not treat a DIY cone as a safe long-term substitute for a properly fitted recovery device. If the prescribed cone breaks, use a temporary alternative only while supervising your dog, and contact the veterinary clinic for a replacement plan.
How to measure and fit a dog cone correctly, beyond the two-finger rule
Step-by-step measuring and fitting
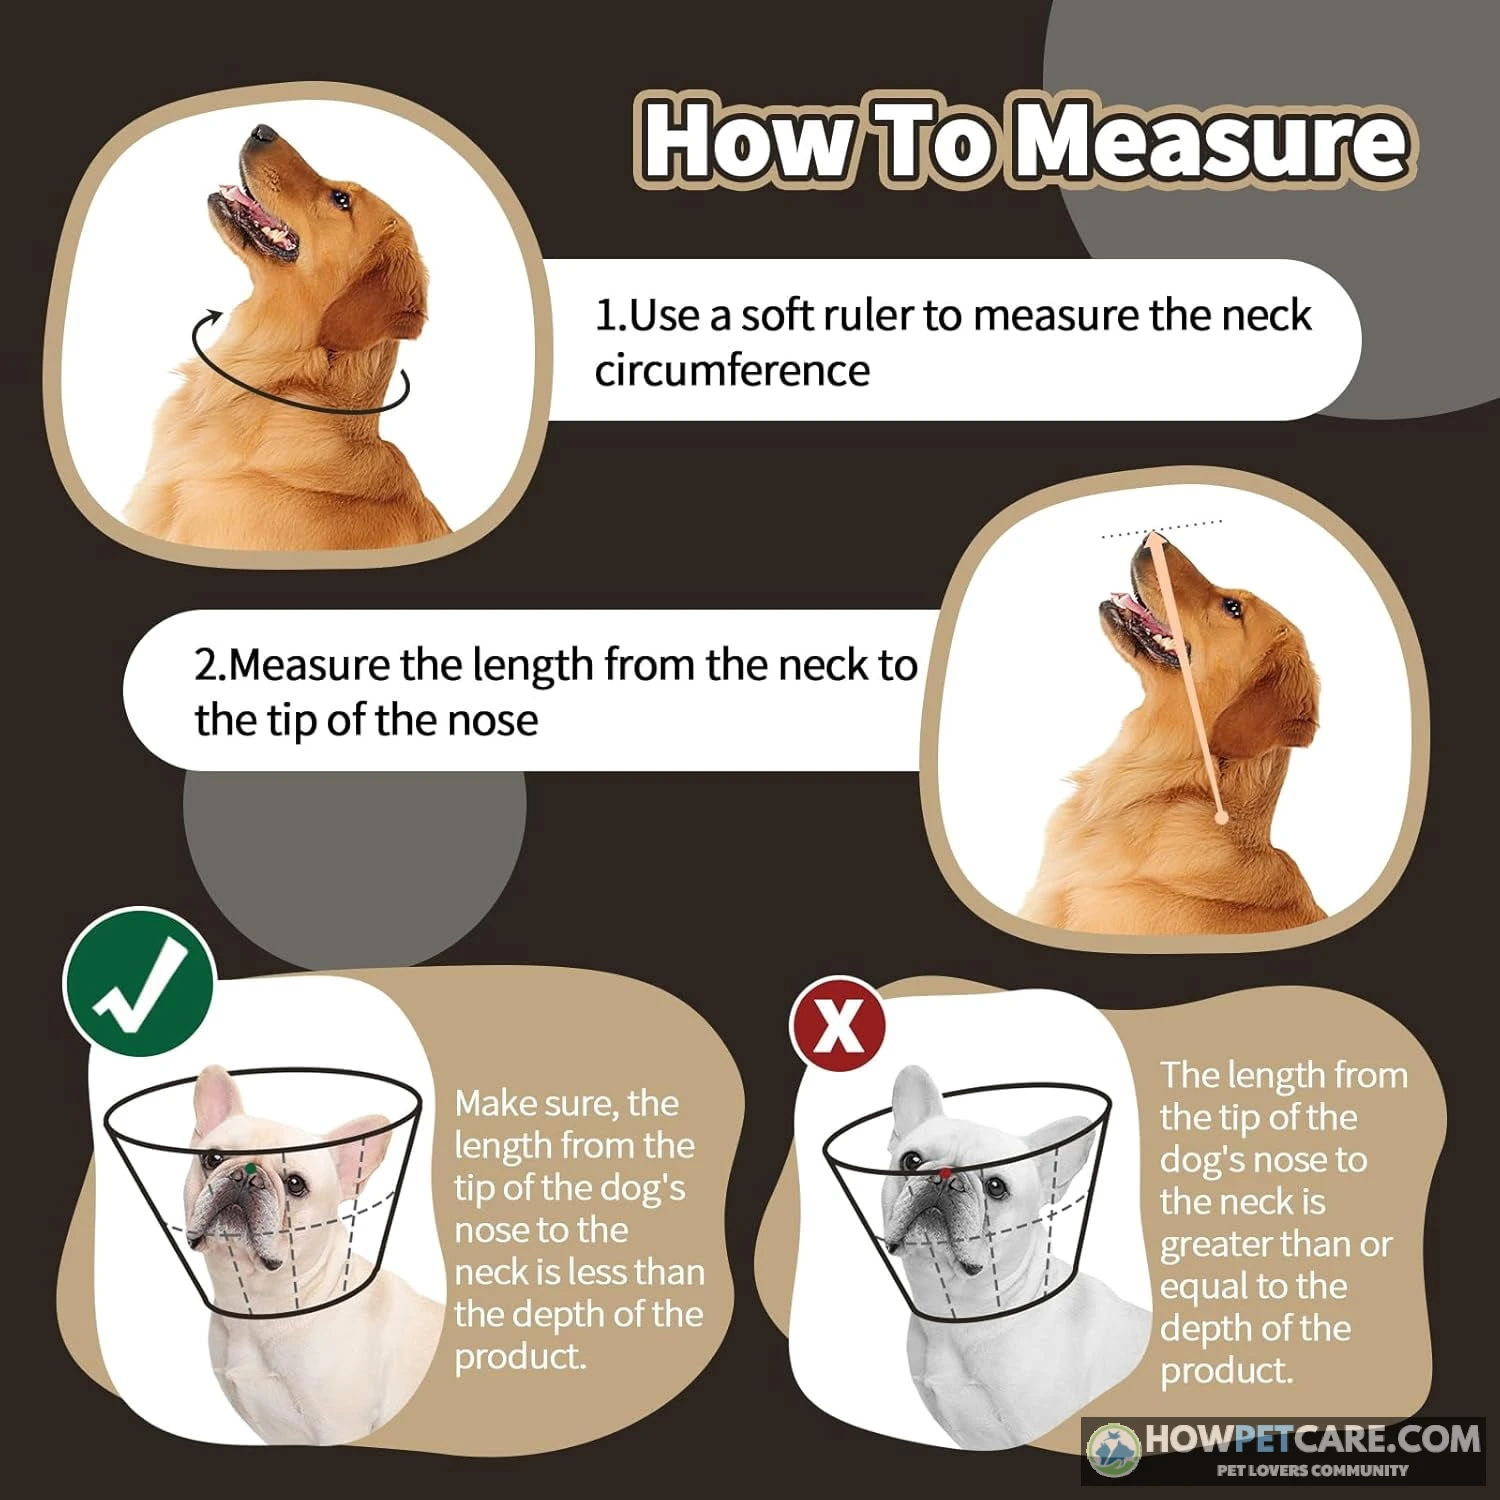
- Measure the neck. Run a soft tape measure around the neck where the regular collar sits. If you use string, measure it against a ruler afterward. Compare the result with the cone’s sizing chart.
- Measure from collar line to nose tip. The cone should extend just past the nose. For a paw, leg, or rear-end wound, ask the clinic whether additional length is needed. The right reach depends on where the wound is and how your dog bends.
- Check the neck fit. You should be able to slide two fingers between the neck and the cone edge, but the cone must not be loose enough to slip over the ears. Check that the edge does not dig into the throat when your dog lowers their head.
- Anchor it with the flat collar. Thread the regular collar through the cone’s loops or tabs if the design allows, then fasten it as usual. The collar should be secure without constricting the neck.
- Test access and movement. Watch your dog walk, turn, eat, and drink. Check whether they can still lick the wound. If they can, ask the clinic about a longer or different device.
- Recheck after about 30 minutes. Look for rubbing, redness, slipping, or a change in fit. Recheck periodically and after vigorous head-shaking.
Long snouts, flat faces, and fluffy necks
A cone that fits the neck may still be too short to block a long muzzle. A flat-faced dog may need a different shape or fit to avoid an obstructed view or uncomfortable edge. Choose based on actual reach and the manufacturer’s sizing guidance, not breed name alone. Ask your veterinarian to assess the fit if the rim does not extend beyond the nose or if the device presses against the face.
Threading the collar through the cone
Many rigid cones have loops or tabs at the base. Threading a flat collar through them helps prevent the cone from sliding off. After fastening, check the two-finger space. Make sure the cone cannot be backed over the head, and inspect the skin under the rim. A cone should not make breathing difficult or press painfully against the neck.
Eating, drinking, sleeping, and settling in with a cone
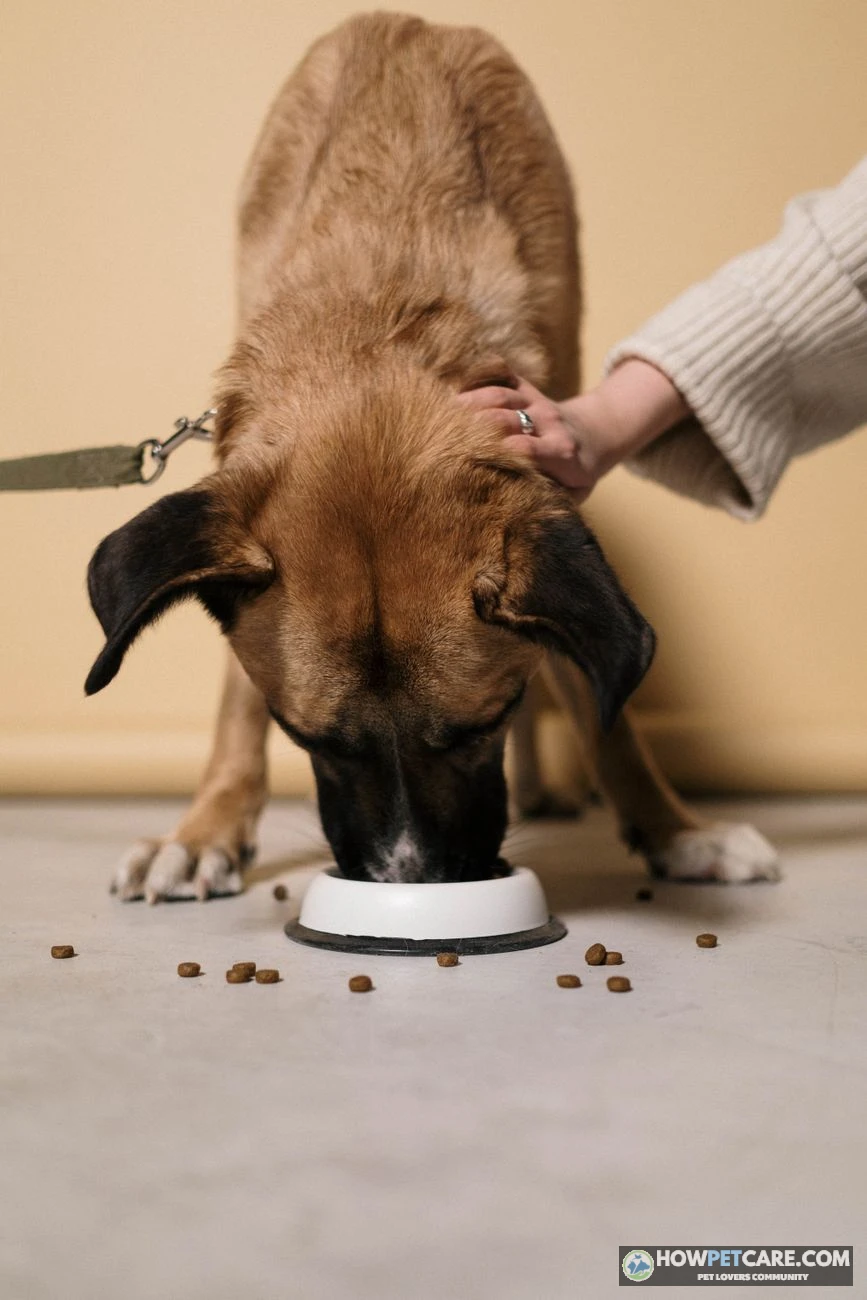
Most dogs can eat and drink in a correctly fitted cone, although they may need time and a better bowl setup. Try a wide, shallow dish or raise the bowl so the rim clears the floor. A raised bowl around 4 inches (10 cm) may help, depending on the dog and the cone. Keep fresh water accessible and check that your dog is actually drinking.
Most dogs can also sleep in a cone once they settle. A flat, open bed or a clear floor spot usually works better than a high-sided bed, since the rim can rest on the ground instead of pushing against an edge.
Mealtimes: keep the cone on or take it off?
Default to keeping the cone on and changing the bowl setup first. Raise or reposition the bowl, try a wide shallow dish, and give your dog time to figure it out. You can hand-feed if needed while keeping the cone on.
Remove the cone for a meal only as a last resort. Your dog must be calm, you must supervise every second, and the wound must be out of reach or you must be able to prevent access continuously. Put the cone back on as soon as the meal ends, not after you step away. If your dog refuses food or water, contact your veterinarian instead of making repeated unsupervised cone-free exceptions.
Helping a dog get used to the cone
Introduce the cone calmly. Offer treats and praise, let your dog investigate it, and build up wear time if your veterinarian’s instructions allow. Keep the first attempts low-pressure and remove obstacles from the walking path. Many dogs bump into things or seem unsettled at first because the cone changes their view and movement. Persistent panic, rubbing, or refusal to move calls for a fit check and a conversation with the clinic.
Setting up your home for a coned dog
Clear narrow spaces and low obstacles that can catch the rim. Block stairs if your dog cannot navigate them safely, and keep other pets from crowding or roughhousing with them. Provide a quiet resting area with enough room to lie down and turn around. Use a harness for walks if the cone or collar makes neck pressure uncomfortable, and follow the veterinarian’s activity restrictions.
Leaving a coned dog home alone: safety rules and setup for work hours
A cone should generally stay on while your dog is alone unless the veterinarian has explicitly approved another plan. Unsupervised time is when a dog may remove the cone, snag it, or reach the wound without anyone noticing. There is no universal safe number of hours. Ask the clinic how long your dog can be left based on the procedure, age, and behavior. The first couple of days after surgery may need closer supervision; arrange help rather than assuming your dog will settle.
Safe room or crate setup
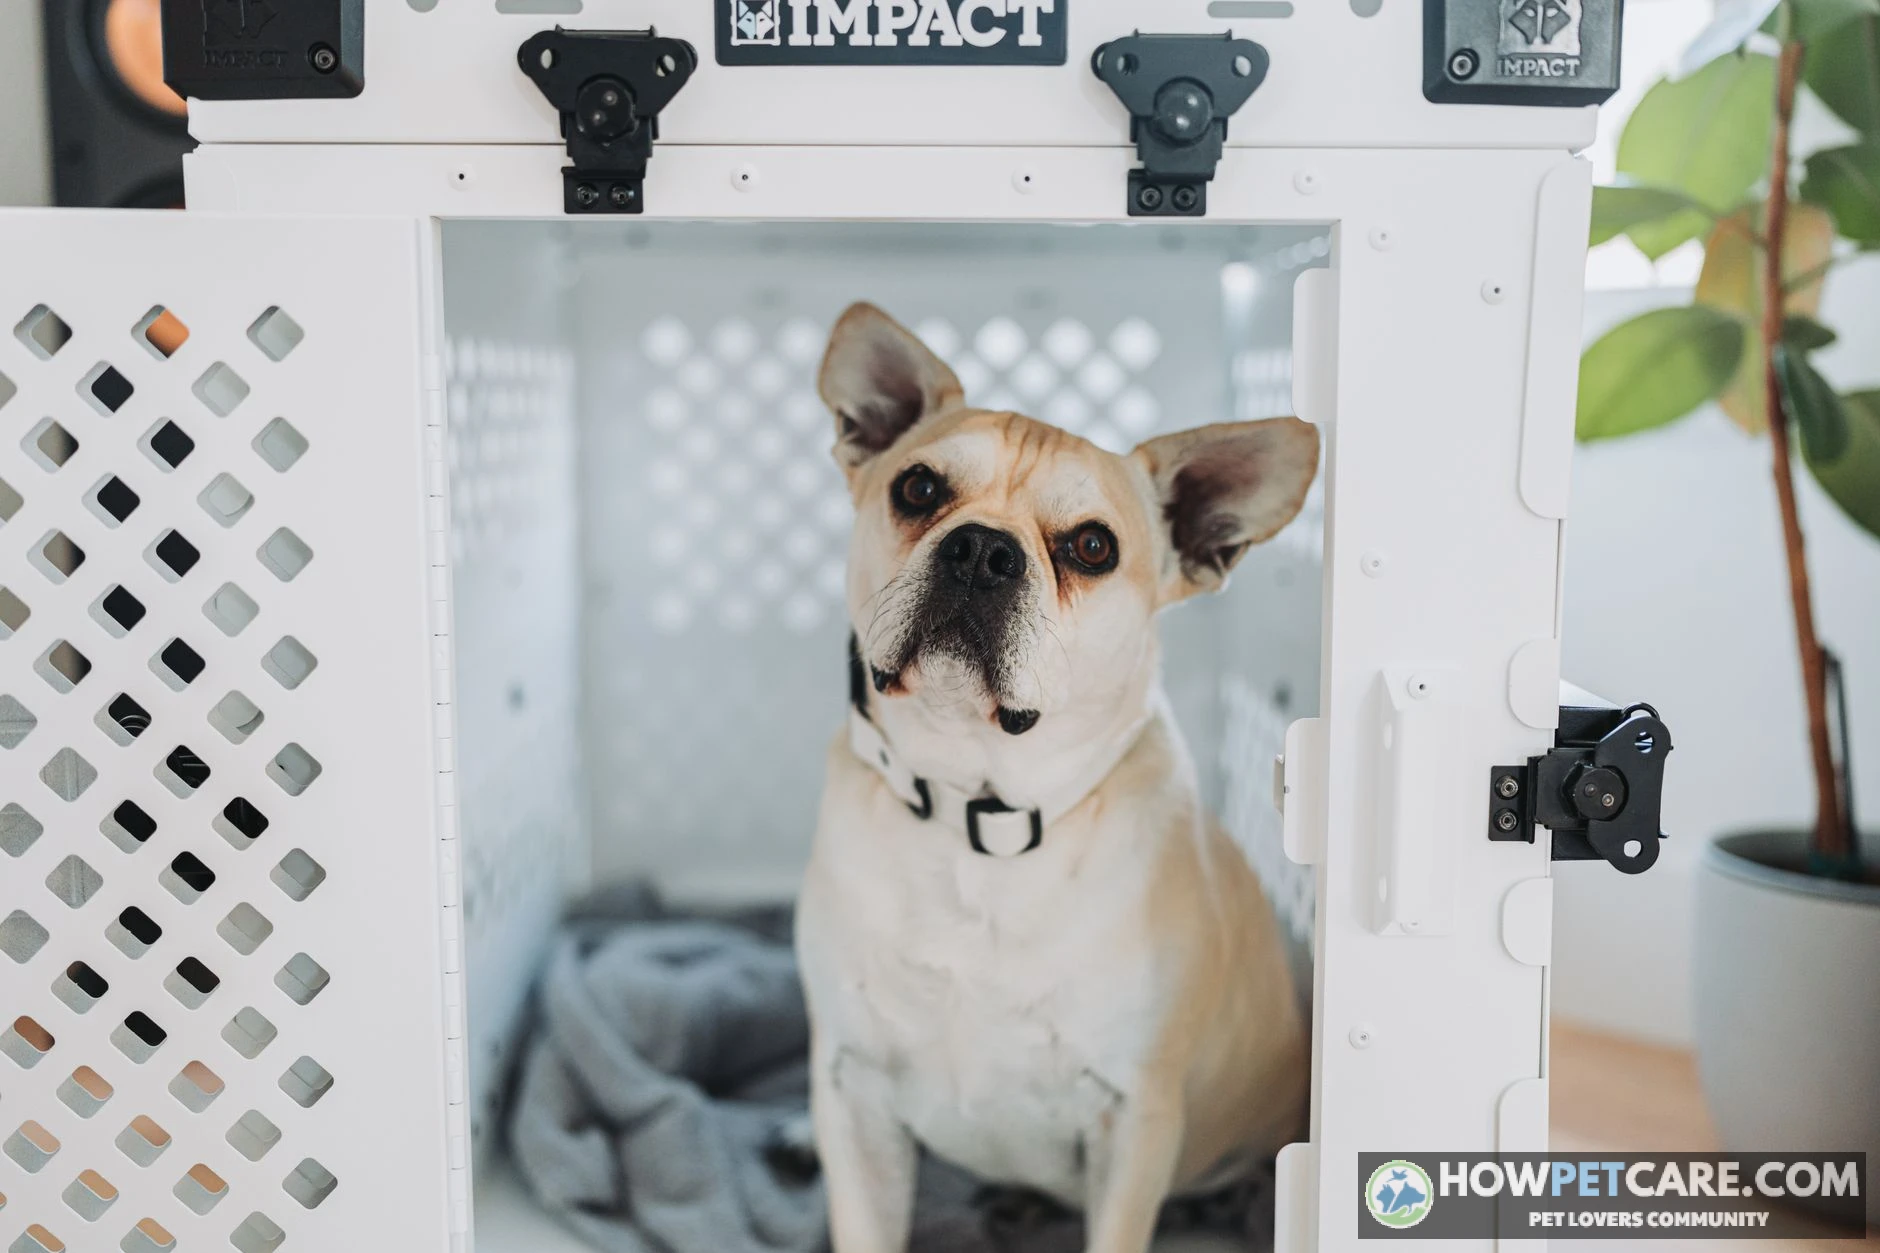
Before leaving, prepare a small, uncluttered room, pen, or crate that is large enough for your dog to turn and lie down with the cone on. Remove cords, tight gaps, low furniture edges, loose bedding that can tangle, and access to stairs. Set out water in a stable, wide bowl and confirm beforehand that your dog can reach it. Do not leave toys that can get trapped inside the cone or create a choking hazard.
Who can check in while you are at work
For longer absences, arrange a trusted neighbor, sitter, or midday visit. Doggy daycare is appropriate only if your veterinarian and the facility agree that it fits the recovery plan. A camera can help you check behavior, but it cannot free a trapped cone or assess a wound in person.
Before leaving, recheck the fit, inspect the wound, confirm water access, and save your regular and emergency veterinary numbers. Keep alone time short at first and extend it only when your dog is calm and safe in the setup.
How to tell if the wound is healed enough to take the cone off for good
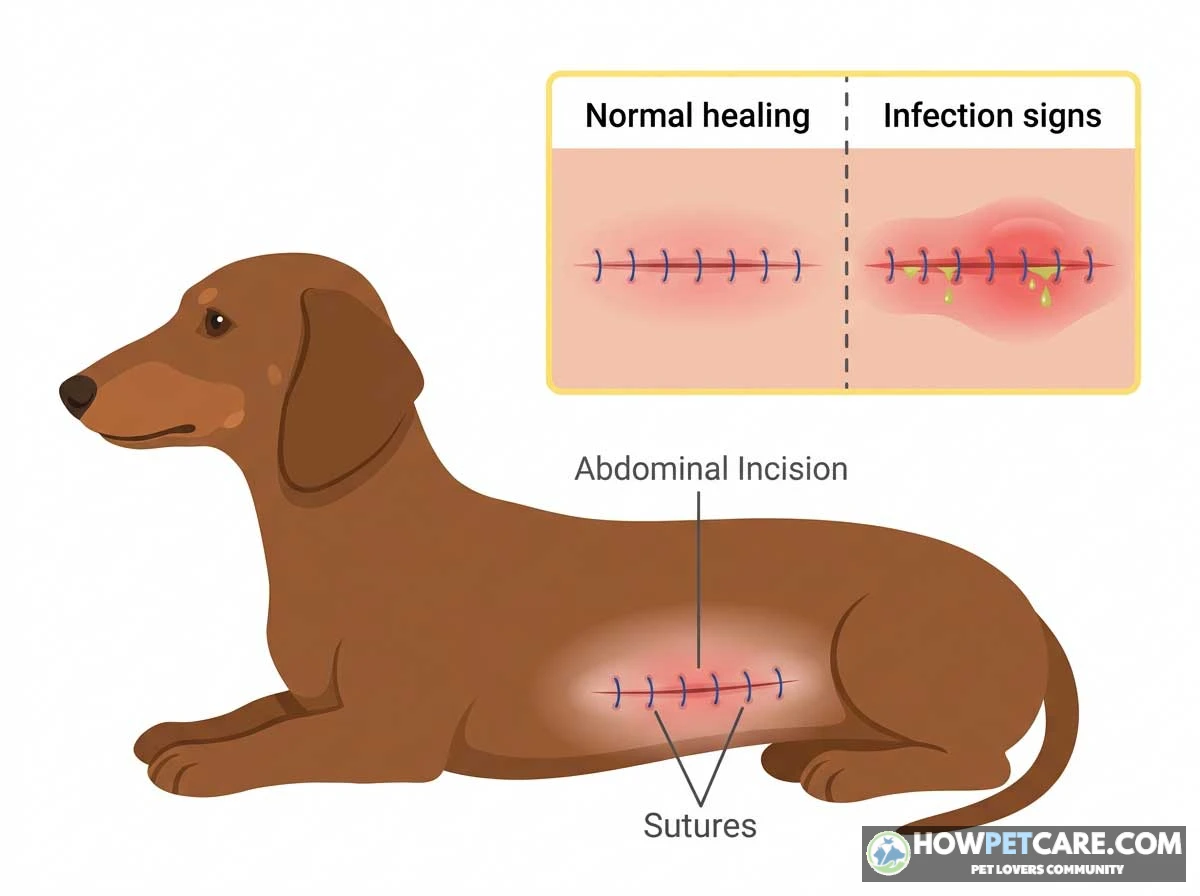
A wound that looks better is not automatically ready for unrestricted licking. The veterinarian’s timeline and confirmation matter, especially if stitches are due for removal. Check the site daily in good light and take a photo from the same angle to track changes.
Visual checklist: healed vs. still healing
| What to check | Looks ready for a vet recheck | Keep the cone on and call the vet |
|---|---|---|
| Incision edges | Closed, flat, and together | Gaps, open areas, or edges pulling apart |
| Redness and swelling | No concerning or worsening change | Increasing, spreading, bright redness or puffiness |
| Surface | Dry, without a thick raised or lifting scab | New or worsening scab, moist area, or exposed tissue |
| Discharge and smell | No fluid or bad odor | Any discharge, pus, or bad smell |
| Skin temperature | No unusual warmth compared with nearby skin | Area feels unusually warm, especially with other changes |
| Stitches | Vet’s instructions for the suture type have been followed | Removable stitches are still due to come out or the clinic has not cleared removal |
| Behavior | Dog is not persistently fixated on the area | Dog repeatedly licks, chews, or guards the site |
Trial run without the cone
Before removing it for good, confirm with your veterinarian that the wound and any suture plan are ready. If cleared, try a short, supervised cone-free period while watching for licking or chewing. If your dog targets the site, put the cone back on and call the clinic for advice. Do not leave the dog alone without protection until the veterinarian has cleared that step.
Cone emergencies: ripped stitches, a cracked cone, vomiting, and neck sores
Act promptly, but do not try to diagnose or repair a surgical wound yourself. Keep your dog from licking the area and contact the veterinary clinic when the wound or the dog’s condition raises concern.
My dog ripped a stitch
Put the cone back on or use a veterinarian-approved temporary barrier to prevent further access. Do not pull at the stitches or try to close the wound. Contact your veterinarian promptly for instructions. If bleeding will not stop, the wound is open, or tissue is exposed, seek urgent veterinary care. A clean, dry cloth may be used only if the clinic advises it.
The cone cracked or broke
Remove broken pieces that could cut your dog, and keep your dog supervised. Use a correctly fitted temporary alternative only if it prevents access to the wound. Contact the clinic about replacement as soon as possible. Do not leave your dog alone with a cracked cone or an improvised device that can snag or slip.
My dog vomited inside the cone
Remove the cone long enough to clean it and your dog’s face and neck, while preventing access to the wound. Dry everything before putting the cone back on. Contact your veterinarian if vomiting repeats, your dog becomes lethargic, or they refuse food or water. Do not leave the cone off while you monitor them.
Sores or chafing around the neck
Check the fit and look for rubbing under the edge. Do not cover an open or wet sore with tape or padding that could trap moisture or make the cone unsafe. Ask your veterinarian how to clean mildly irritated skin and whether the cone needs adjustment or replacement. Open, weeping, painful, or worsening sores are a reason to contact the clinic.
| Problem | Immediate steps | When to call the vet or go to emergency care |
|---|---|---|
| Ripped or pulled stitches | Prevent licking; replace the cone or use an approved temporary barrier; do not re-close the wound. | Contact the vet promptly; seek urgent care for uncontrolled bleeding, an open wound, or exposed tissue. |
| Cracked or broken cone | Remove sharp pieces; supervise and use a safe, correctly fitted temporary alternative if available. | Contact the clinic for a replacement plan; urgent help if the dog is injured or cannot breathe normally. |
| Vomiting into the cone | Remove and clean the cone and dog; protect the wound while it is off. | Call if vomiting repeats, or if lethargy or refusal to eat or drink occurs. |
| Neck chafing or sores | Check fit; keep the area clean and dry using only vet-approved care. | Call for open, weeping, painful, or worsening sores. |
| Cone trapped, severe panic, or breathing difficulty | Free the dog safely and remove an immediate obstruction. | Seek urgent veterinary advice for breathing difficulty, injury, or distress that does not settle. |
Your cone-care action plan: tonight, this week, and the day it comes off
First-night checklist
- Check that the cone extends beyond the nose and cannot slip off.
- Clear paths, block unsafe stairs, and set up a resting place with room to turn.
- Offer food and water in bowls the cone can reach; keep the cone on by default.
- Save the regular veterinarian’s number and the nearest emergency clinic’s number.
- Follow the discharge instructions for activity, medication, and wound checks.
Daily check routine
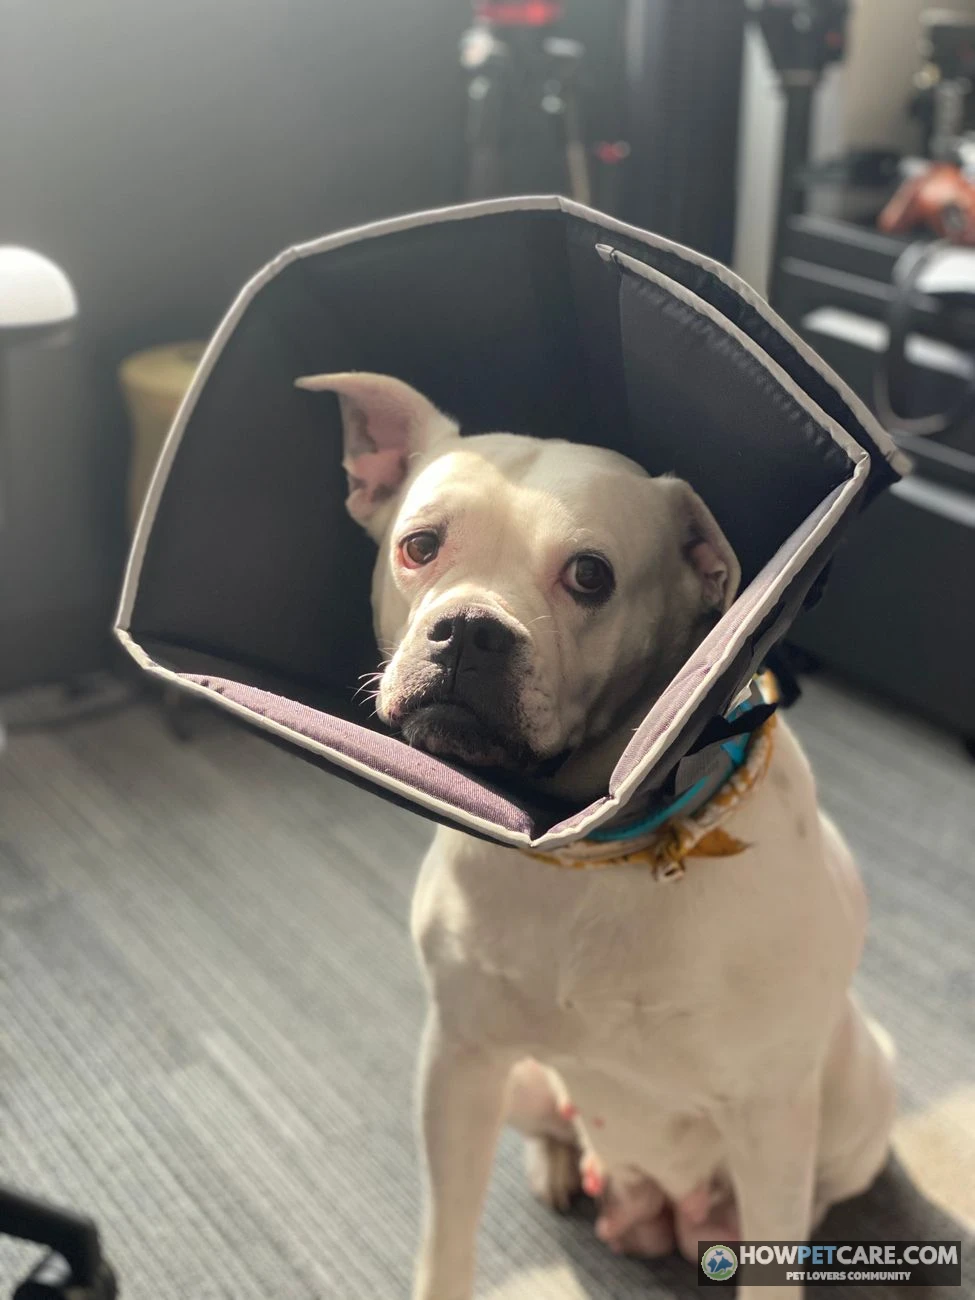
Inspect the wound and the skin under the cone, and make sure your dog is eating, drinking, and toileting. Clean the cone if it becomes soiled and dry it before putting it back on. Take a daily wound photo in consistent light. If the cone is not preventing access, is rubbing, or is causing persistent distress, contact the clinic for a fit or device review rather than simply leaving it off.
Questions to ask at the recheck
- How long should my dog wear the cone for this specific procedure or wound?
- Are the stitches absorbable, or do they need to be removed at the clinic?
- Does this alternative device protect the exact wound location?
- Is my dog’s incision ready for a supervised cone-free trial?
- What changes to the wound or behavior should prompt a call or urgent visit?
Keep the cone on until your veterinarian confirms that protection is no longer needed. That final check—not a calendar estimate or a better-looking incision alone—is the safest basis for taking it off for good.
 You might be wonderingCost of akita dogAkita Dog Cost: Puppy Price, First-Year & Lifetime CostsRead the answer
FAQ
What is a dog cone called?
It is most often called an Elizabethan collar, e-collar, or the ‘cone of shame’. All three names describe the same protective device that keeps a dog from reaching a wound.
Does a dog cone hurt or upset my dog?
A properly fitted cone should not cause pain, though many dogs find it awkward, and some bump into things or seem down for the first day or two. Most settle with treats, calm encouragement, and a cleared path. Persistent distress, skin rubbing, or refusing to move are signs to adjust the fit or ask your vet about another device.
Can my dog wear a cone in a crate or the car?
Yes, as long as the crate is large enough for the dog to turn and lie down comfortably with the cone on. If the cone does not fit, ask your vet about a different device rather than removing it. In the car, make sure the cone does not obstruct the dog’s breathing or get caught in a harness or seat belt.
How do I clean a dog cone?
Wipe a plastic cone with mild soap and warm water, rinse it, and dry it fully before putting it back on. Fabric and inflatable collars can usually be cleaned according to the manufacturer’s directions. Clean it right away after vomit, urine, or food, as dirt on the edge can irritate the neck.
Can my dog still wear a regular collar or harness with a cone?
Yes, in most cases. Many cones are designed to be threaded onto the flat collar, which helps keep them secure. Check that the collar is snug but not tight, and use a harness for walks to avoid pulling on the neck, which the cone may already be rubbing.