

A proper pet rat cage setup needs:
- A multi-level wire cage of at least 4 cubic feet for two rats — about 9 cu ft (e.g., 30 x 18 x 30 in) is a comfortable target
- Bar spacing of 1/2 inch for babies and small females, 3/4 inch max for adults
- Safe bedding: paper, aspen, hemp, or fleece — never cedar or pine
- Four zones: hammocks up top for sleeping, food and water mid-level, play and dig space at the bottom, litter pan in the toilet corner
- Daily spot-cleaning plus weekly bedding changes — if you smell ammonia, clean immediately
For two same-sex rats, the minimum cage size most rescues and experienced owners cite is about 4 cubic feet total, with each rat getting at least 2 cubic feet. A more realistic comfortable target — and the best rat cage setup for 2 rats for most beginners — is a cage around 30 inches long, 18 inches deep, and 30 inches tall, which gives roughly 9 cubic feet, or 4.5 cubic feet per rat. Choose a multi-level wire cage with bar spacing no wider than 1/2 inch for babies and small females, and no wider than 3/4 inch for adults. Avoid the outdated 1.5 inch figure still found on some older pages.
If you need to set up the cage tonight, follow this five-step sequence:
- Assemble the cage and inspect for sharp edges, gaps, and loose latches.
- Cover every wire floor and ramp, then add bedding.
- Install platforms, ramps, hammocks, and hideouts in sleep, feed, and play zones.
- Add the food bowl, water bottle or bowl, litter pan, and chew toys.
- Run the safety checklist, test latches and water, then bring the rats home.
Tonight’s build is only the start. The sections below walk you through the math, the cage type, the layout, bedding choices, and the cleaning schedule that keeps ammonia under control.
What Size Cage Do Pet Rats Need? Worked Space-per-Rat Math
Rat cage size requirements are usually expressed in cubic feet per rat, but listings give dimensions in inches. Convert any cage with this formula:
Length in inches x Width in inches x Height in inches / 1,728 = cubic feet
Then divide the result by 2 for the absolute minimum headcount, or by 2.5 (or more) for a comfortable number.
The cubic-foot formula in plain steps
- Multiply length by width by height. Use inside dimensions if the listing gives outside dimensions.
- Divide by 1,728. That converts cubic inches to cubic feet.
- Divide the cubic feet by 2.5 for the comfortable rat count, or by 2 for the absolute maximum.
- Sanity-check the floor area and levels. A tall, skinny cage with a tiny footprint gives lots of cubic feet but very little usable floor.
Cage dimension examples for 2, 3, and 4 rats
| Number of rats | Minimum total cubic feet | Example cage dimensions (L x W x H, in) | Cu ft per rat in example | Notes |
|---|---|---|---|---|
| 2 | 4 | 30 x 18 x 30 | 4.5 | A realistic best rat cage setup for 2 rats; exceeds the 2 cu ft/rat floor |
| 3 | 6 | 36 x 24 x 24 | 4.0 | Good floor area and height for three active rats |
| 4 | 8 | 36 x 24 x 30 | 3.75 | Add extra feeding stations and hideouts to reduce squabbles |
Cubic feet on paper does not tell the whole story. Subtract unusable gaps under the base tray, tight angles, and the volume occupied by thick shelves. Two cages can share a cubic-foot number but feel very different to a rat if one has a wide floor and the other is a tall tower.
Why more floor area beats more height
Rats are climbing animals, but they also need room to walk, forage, and escape each other. A cage that is 24 x 18 x 48 inches has the same cubic feet as one that is 36 x 24 x 24 inches, but the second one has twice the floor area and safer level spacing. Height is valuable only when it comes with usable platforms, ramps, and hammocks that break falls. If the cage is too tall with too few levels, rats spend most of their time near the bottom, and an unbroken drop can cause injury.
Cage Math Worked Out: What a Listing’s Dimensions Actually Hold
Take a common wire cage listing: 36 x 24 x 36 inches.
Step 1 — get cubic feet: 36 x 24 x 36 = 31,104 cubic inches. Divide by 1,728: 31,104 / 1,728 = 18 cubic feet.
Step 2 — divide by space per rat. The commonly cited guideline is about 2 cubic feet per rat, with 2.5 cubic feet being more comfortable: 18 / 2 = up to 9 rats on paper, or 18 / 2.5 = about 7 rats comfortably.
Step 3 — sanity-check the floor. A 36 x 24 inch footprint gives 864 square inches of floor. If the same 18 cubic feet came from a cage that was 24 x 18 inches and 54 inches tall, the floor drops to 432 square inches — half the usable ground — and much of the height may be unreachable or a fall hazard. Two cages can share a cubic-foot figure but house very different numbers of rats in practice.
Quick check for any listing: multiply L x W x H in inches, divide by 1,728, then divide by 2 for the minimum headcount or 2.5 for a comfortable one. Then ask whether the floor area and levels actually let rats use that volume.
Wire Cage vs Tank vs Bin Cage: Which Housing Type Works for Rats
The verdict for a permanent fancy rat cage setup is straightforward: a multi-level wire cage is the best default. A glass tank is not suitable for long-term housing because it traps ammonia and limits climbing. A bin cage can work as a budget or quarantine option only if you cut large, safe ventilation panels and check it for chew damage.
Bar spacing by age and size
Bar spacing is the distance between the horizontal or vertical wires. For baby rats, small females, and juveniles, use 1/2 inch or smaller. For healthy adult rats, 3/4 inch is the usual ceiling. Some older guides claim 1 inch or even 1.5 inches is acceptable; it is not. Small rats can squeeze through 1 inch gaps, and even adults can get stuck or escape. Always measure the spacing at several points on a cage, because manufacturing can vary.
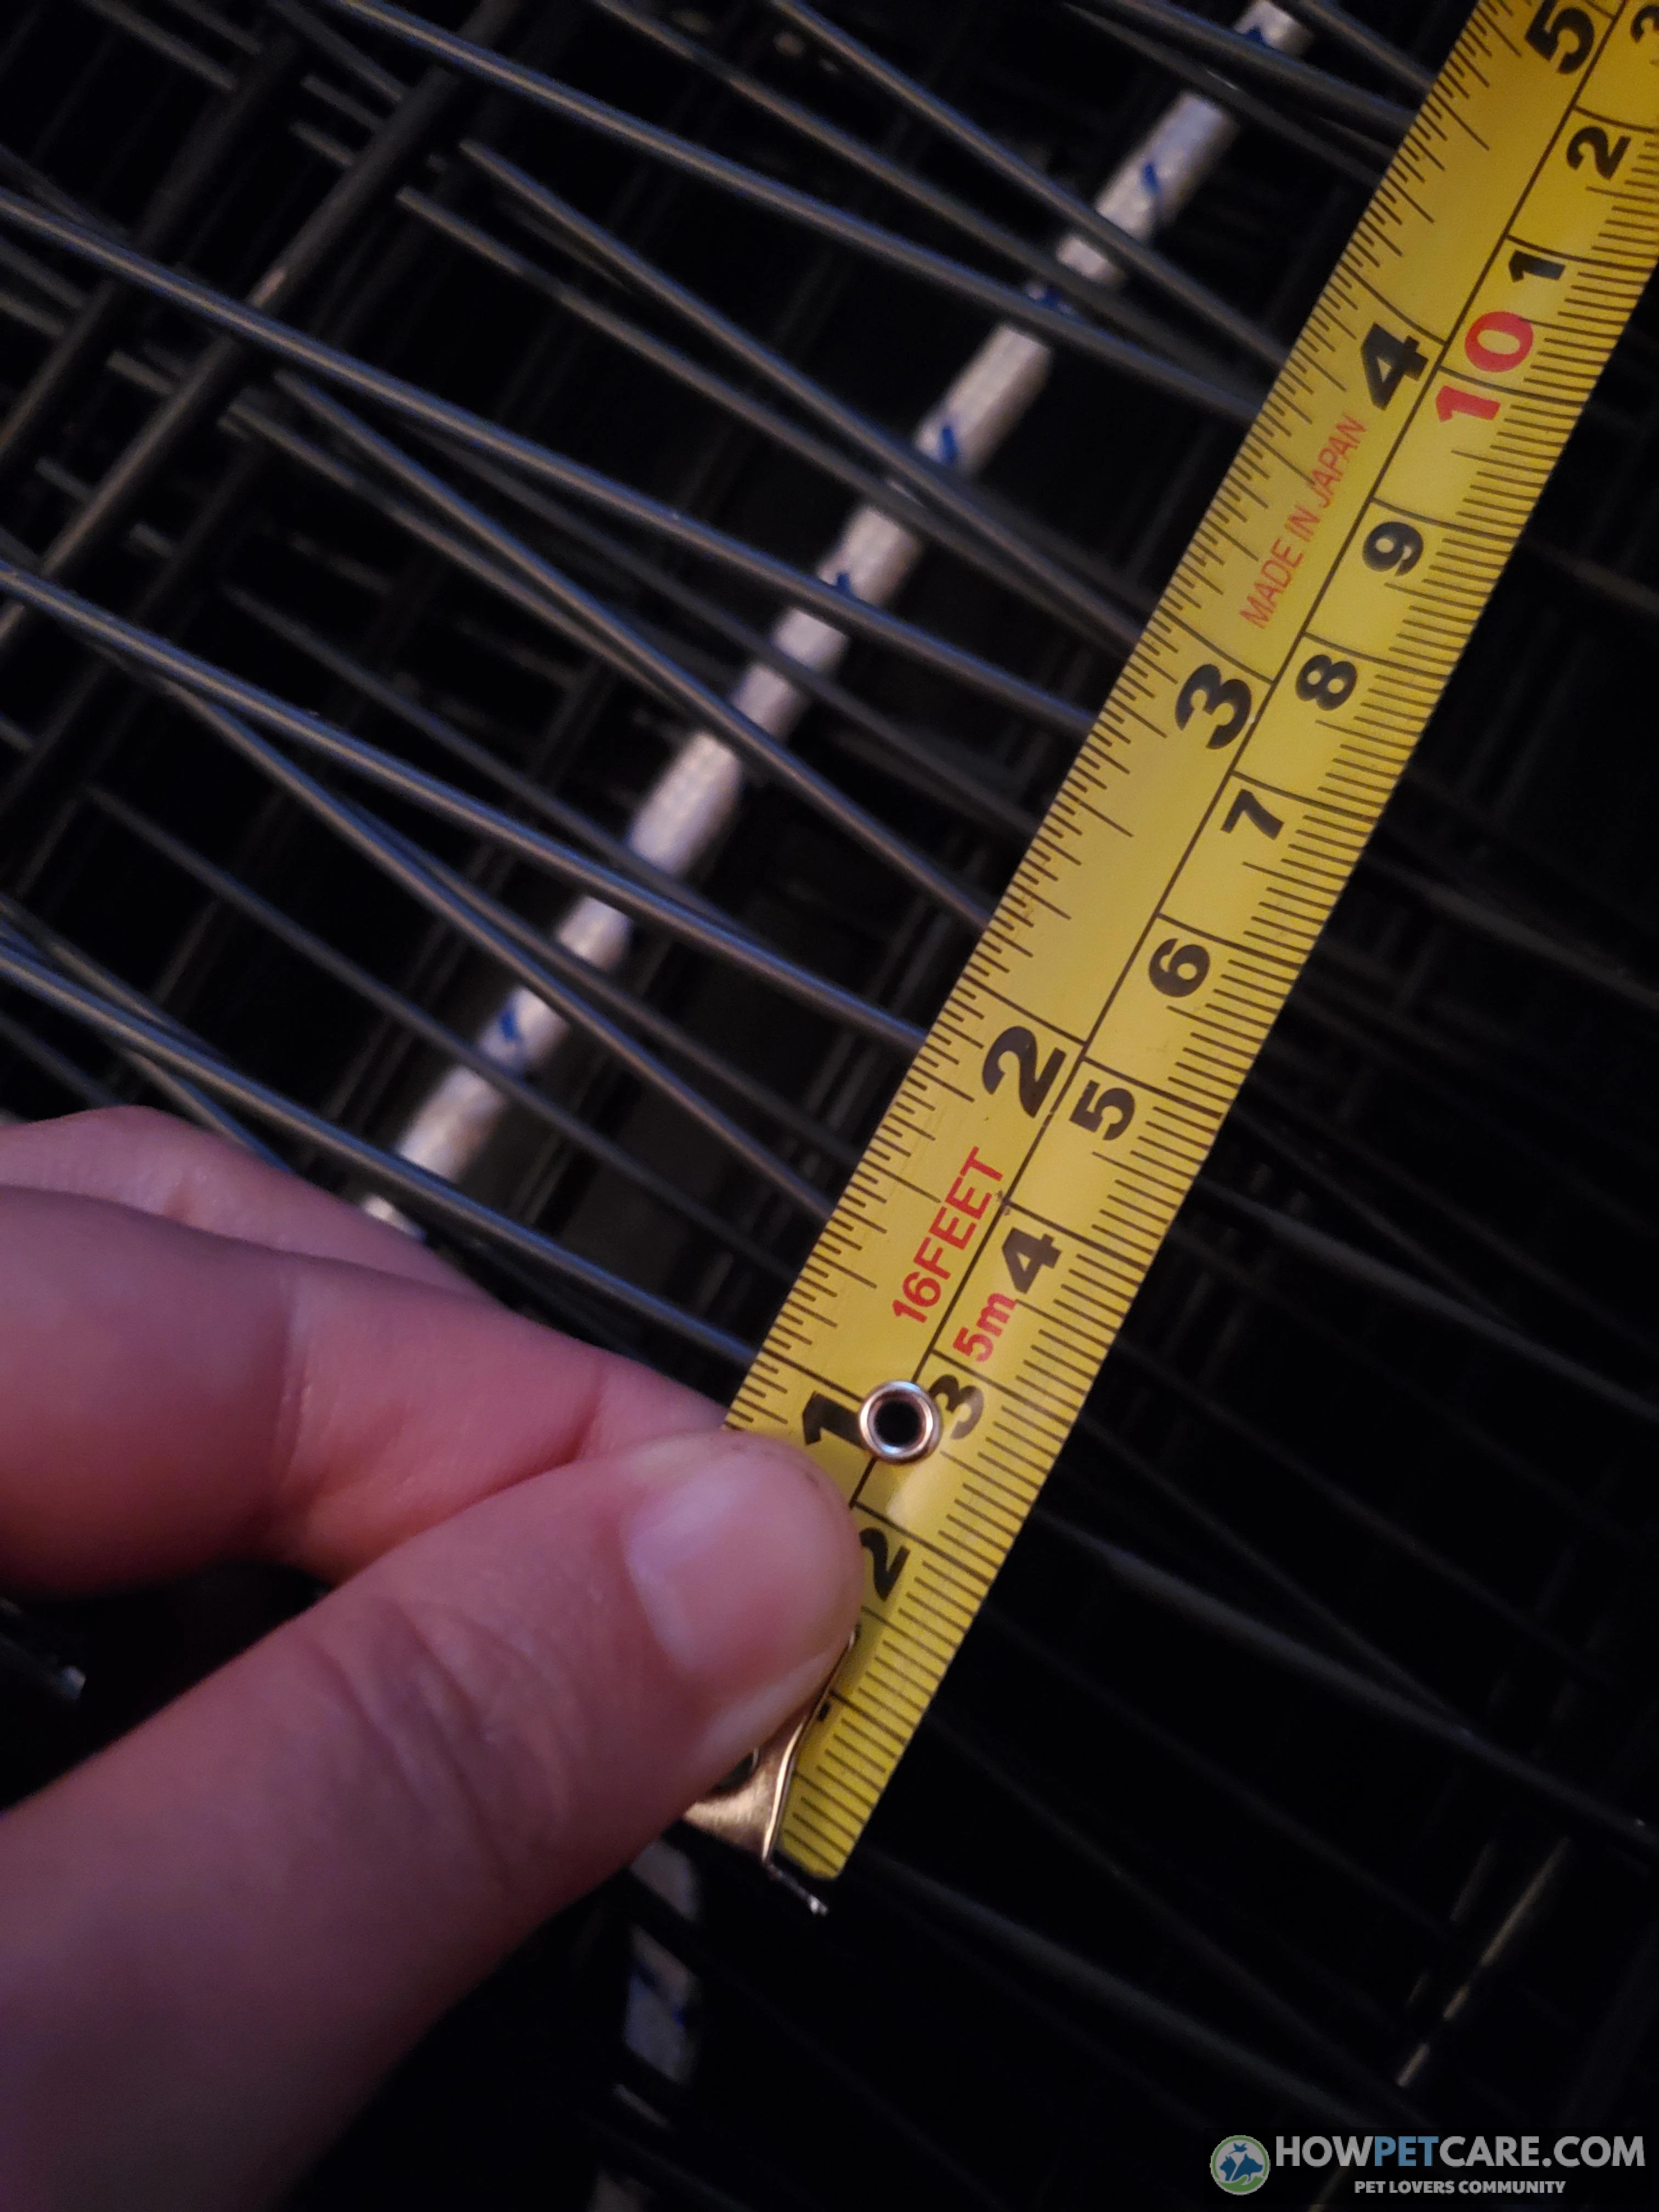
- 1.5-inch bar spacing is fine for rats. It is not. Babies and small females can squeeze through 1 inch or more. Stay at 1/2 inch for young rats and small females; 3/4 inch is the ceiling for full-grown adults.
- 2 cubic feet total is plenty for two rats. That is roughly 1 cubic foot per rat, far below the ~2 cubic feet per rat guideline most rat communities use. For two rats, 4 cubic feet is the floor, and ~9 cubic feet is a realistic comfortable target.
- A 10- or 20-gallon aquarium works if you clean it often. Tanks trap ammonia at rat nose level, offer almost no climbing space, and no cleaning frequency fixes the airflow problem. A ventilated wire cage is the correct default.
- Wire floors are fine — rats’ feet get used to them. Prolonged standing on wire is linked to bumblefoot. Cover wire levels or choose solid-floored platforms from the start.
Ventilation and ammonia: why tanks fall short
Glass aquariums and tanks have solid walls. Without constant cross-ventilation, ammonia from urine builds up at the level where rats breathe. Rats have sensitive respiratory systems, and chronic low-level ammonia exposure raises the risk of respiratory infections. No amount of spot-cleaning fixes the airflow problem in a tank. Tanks are also too narrow to add the ramps, platforms, and hammocks rats use. They are acceptable only as a hospital or temporary transport container, and even then only for short periods.
Escape-proofing: plastic tray chewing, micro-gaps, and latch failures
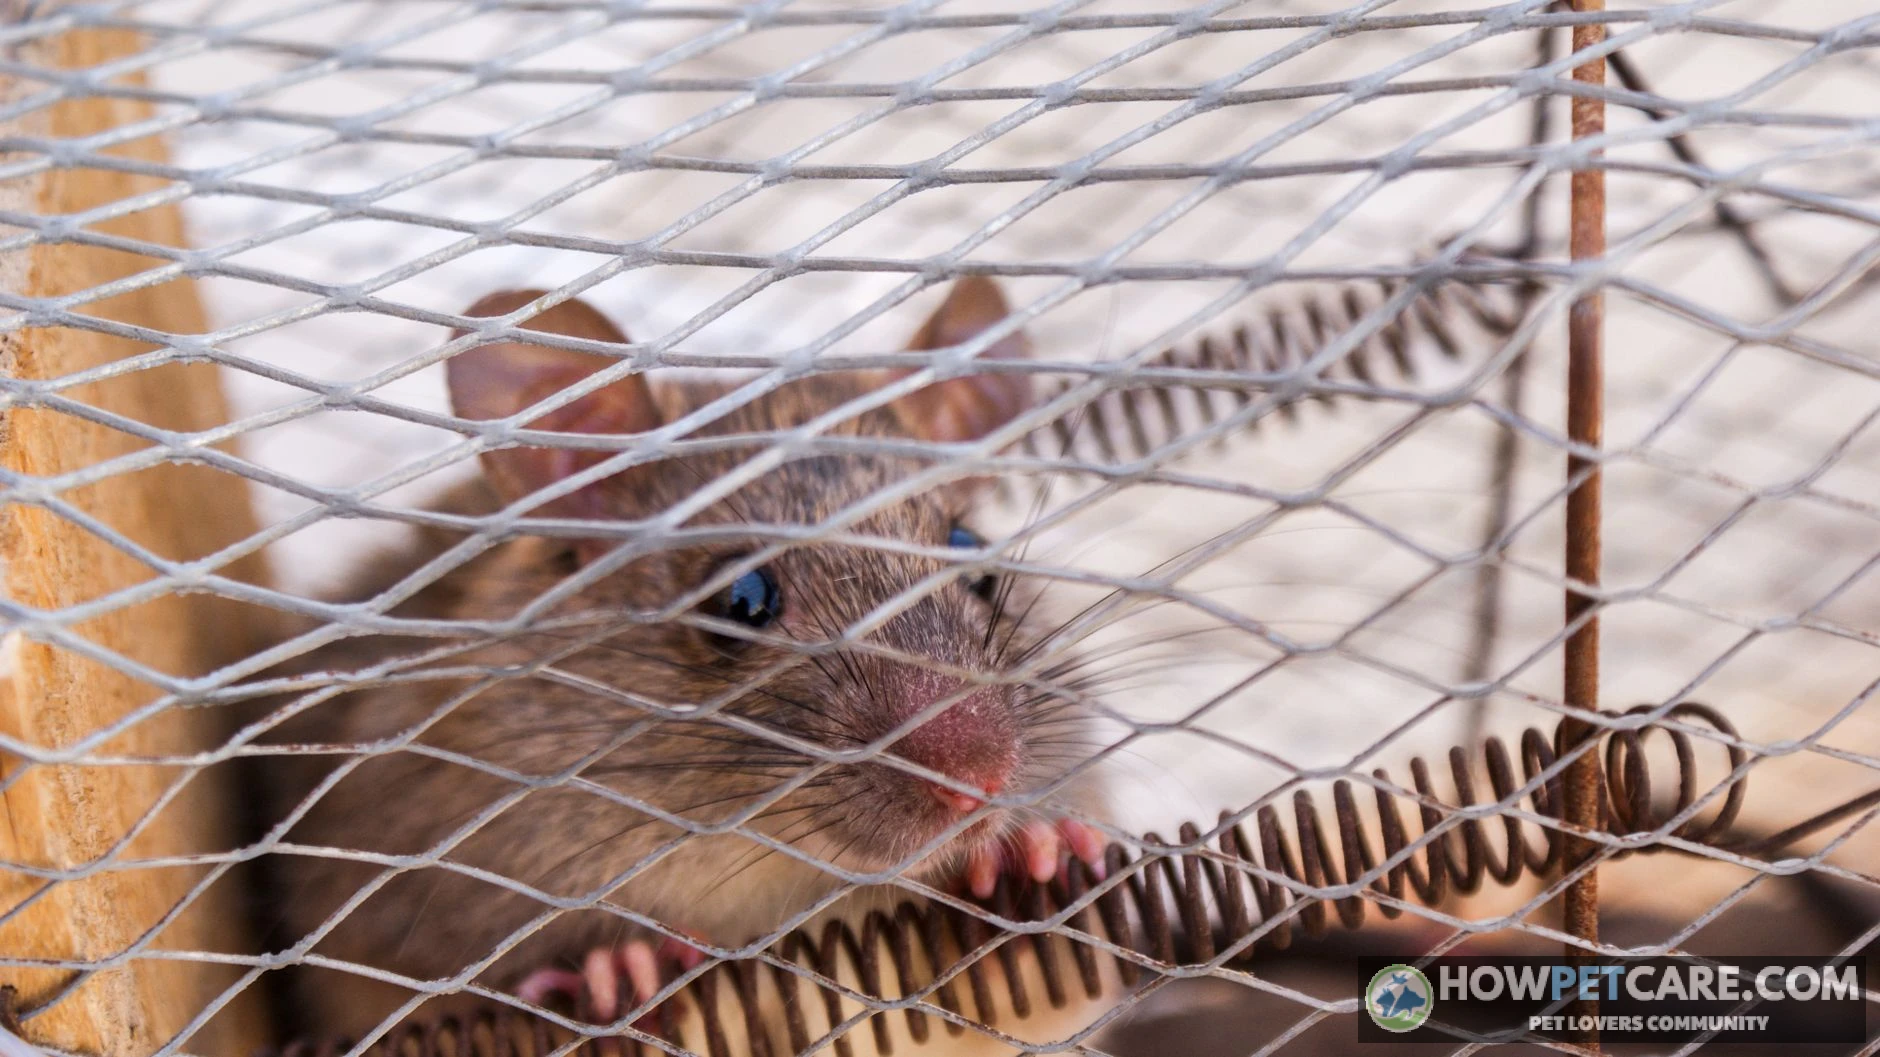
Rats are determined chewers. A plastic base tray can be chewed through at the corners, especially if it is thin or the cage sits in a way that leaves an edge exposed. Inspect the base weekly for tooth marks. Micro-gaps where the tray meets the wire body are another escape route; look for uneven bars or a loose fit. Latches are a third weak point. Many rats learn to lift simple slide latches or push doors open. Test every latch by pushing and pulling the way a rat would, and add a small carabiner or clip to any door that opens with one motion.
 You might be wonderingPet rat health issuesPet Rat Health Issues: Symptoms, Triage, and Vet CostsRead the answer
Compare Popular Cage Types and Designs Side by Side
No single brand is the best cage for every home, but certain cage types fit certain situations. The table below compares type-level options.
| Cage type | Typical dimensions | Bar spacing | Price tier (2026 est.) | Pros | Cons | Verdict |
|---|---|---|---|---|---|---|
| Multi-level wire cage | 30 x 18 x 30 to 36 x 24 x 48 | 1/2–3/4 in | $80–$300 | Excellent ventilation, climbing, easy to clean | Exposed wire floors can injure feet; some models have narrow doors | Best default for most rat cage setup ideas |
| Flat-tray wire cage (Critter Nation style) | 36 x 24 x 24 and up | 1/2 in | $150–$400 | Wide doors, sturdy, easy to modify | Flat tray limits deep substrate; heavy | Excellent if converted for digging |
| Bin cage | 50–110 qt storage bin | Mesh cut-in | $20–$60 | Cheap, lightweight, travel-friendly | Poor airflow unless heavily ventilated; rats chew edges | Budget or quarantine only |
| Glass tank | 20–40 gal | N/A | $50–$150 | Draft-free, holds warmth | Traps ammonia, limits climbing, heavy | Not suitable for long-term rat housing |

For a permanent fancy rat cage setup, a multi-level wire cage or a flat-tray wire cage with a deep liner is the right starting point. Avoid tanks and use bin cages only as temporary or quarantine housing.
How to make a flat-tray cage digging-friendly
Flat-tray cages like the Critter Nation style have a shallow metal pan that is easy to wipe out but too shallow for natural burrowing. Rats need substrate depth to dig, so add a deep-sided insert or a litter box filled with 2–3 inches of aspen, hemp, or coco coir in one corner. You can also place a plastic storage bin, cut down to cage size, inside the base tray and fill it with loose bedding. This converts a flat tray into a functional dig zone without sacrificing easy cleaning.
Zone-Based Layout: Sleeping, Feeding, Playing, and Toilet Areas
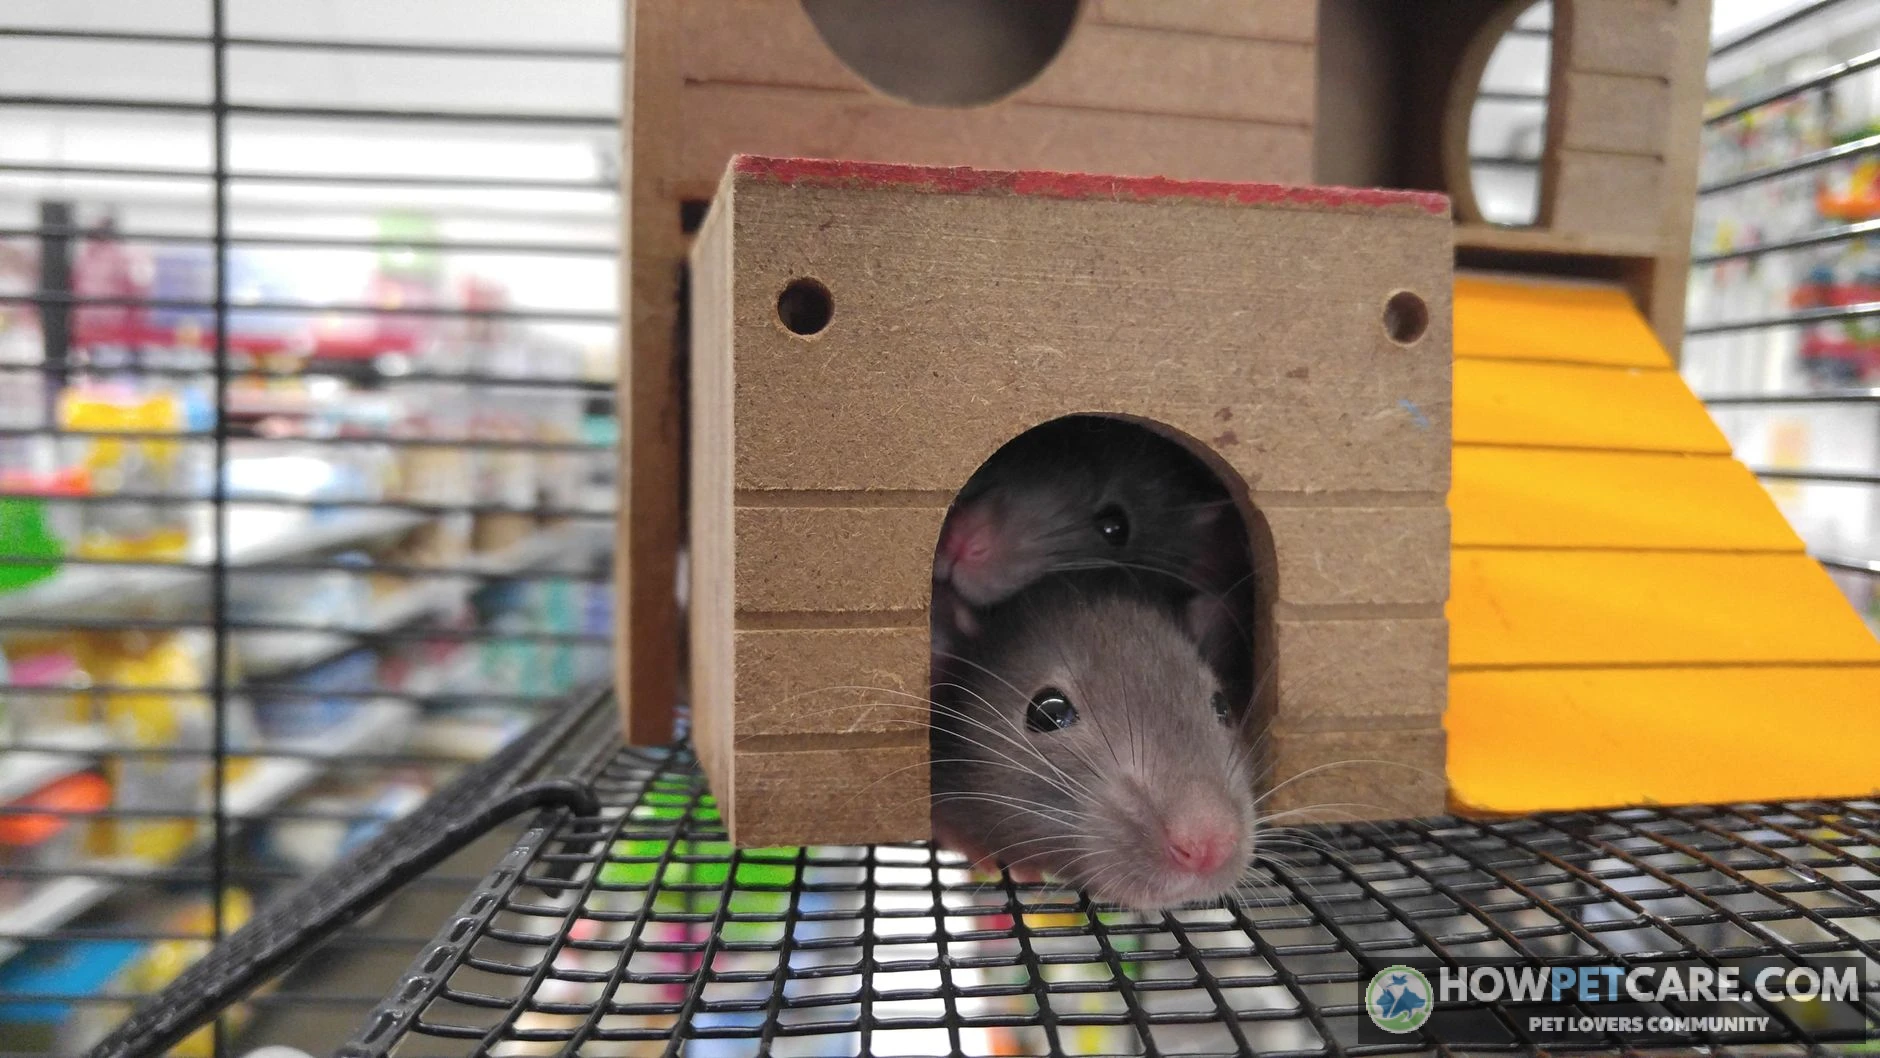
A good pet rat cage setup is organized into four zones. This keeps the cage cleaner, reduces conflict between cage mates, and lets rats express natural behaviors.
Sample floorplan for a 2-rat multi-level cage
Upper level — sleep zone. Place hammocks, fleece tunnels, and a hideout or nesting box here. Rats like to sleep high and away from traffic. Keep this area away from the cage door if possible, so you can open the cage without disturbing a sleeping rat.
Middle level — feeding zone. Put the heavy ceramic food bowl and the water bottle or bowl here. Water bottles should be at rat shoulder height. Food should sit on a solid surface or a shallow dish to reduce waste. Keep it away from the toilet corner.
Lower level — play zone. This is where ramps and platforms, ropes, chew toys and enrichment, and the dig box live. Scatter a few treats or bits of paper to encourage foraging. The dig box should sit on the cage floor because it is heavy and messy.
Corner — toilet zone. Most rats pick one or two corners to urinate. Put a litter pan with rat-safe litter in the corner they naturally use. A smooth, flat stone or pee rock in the pan encourages marking on the litter, not the bedding.
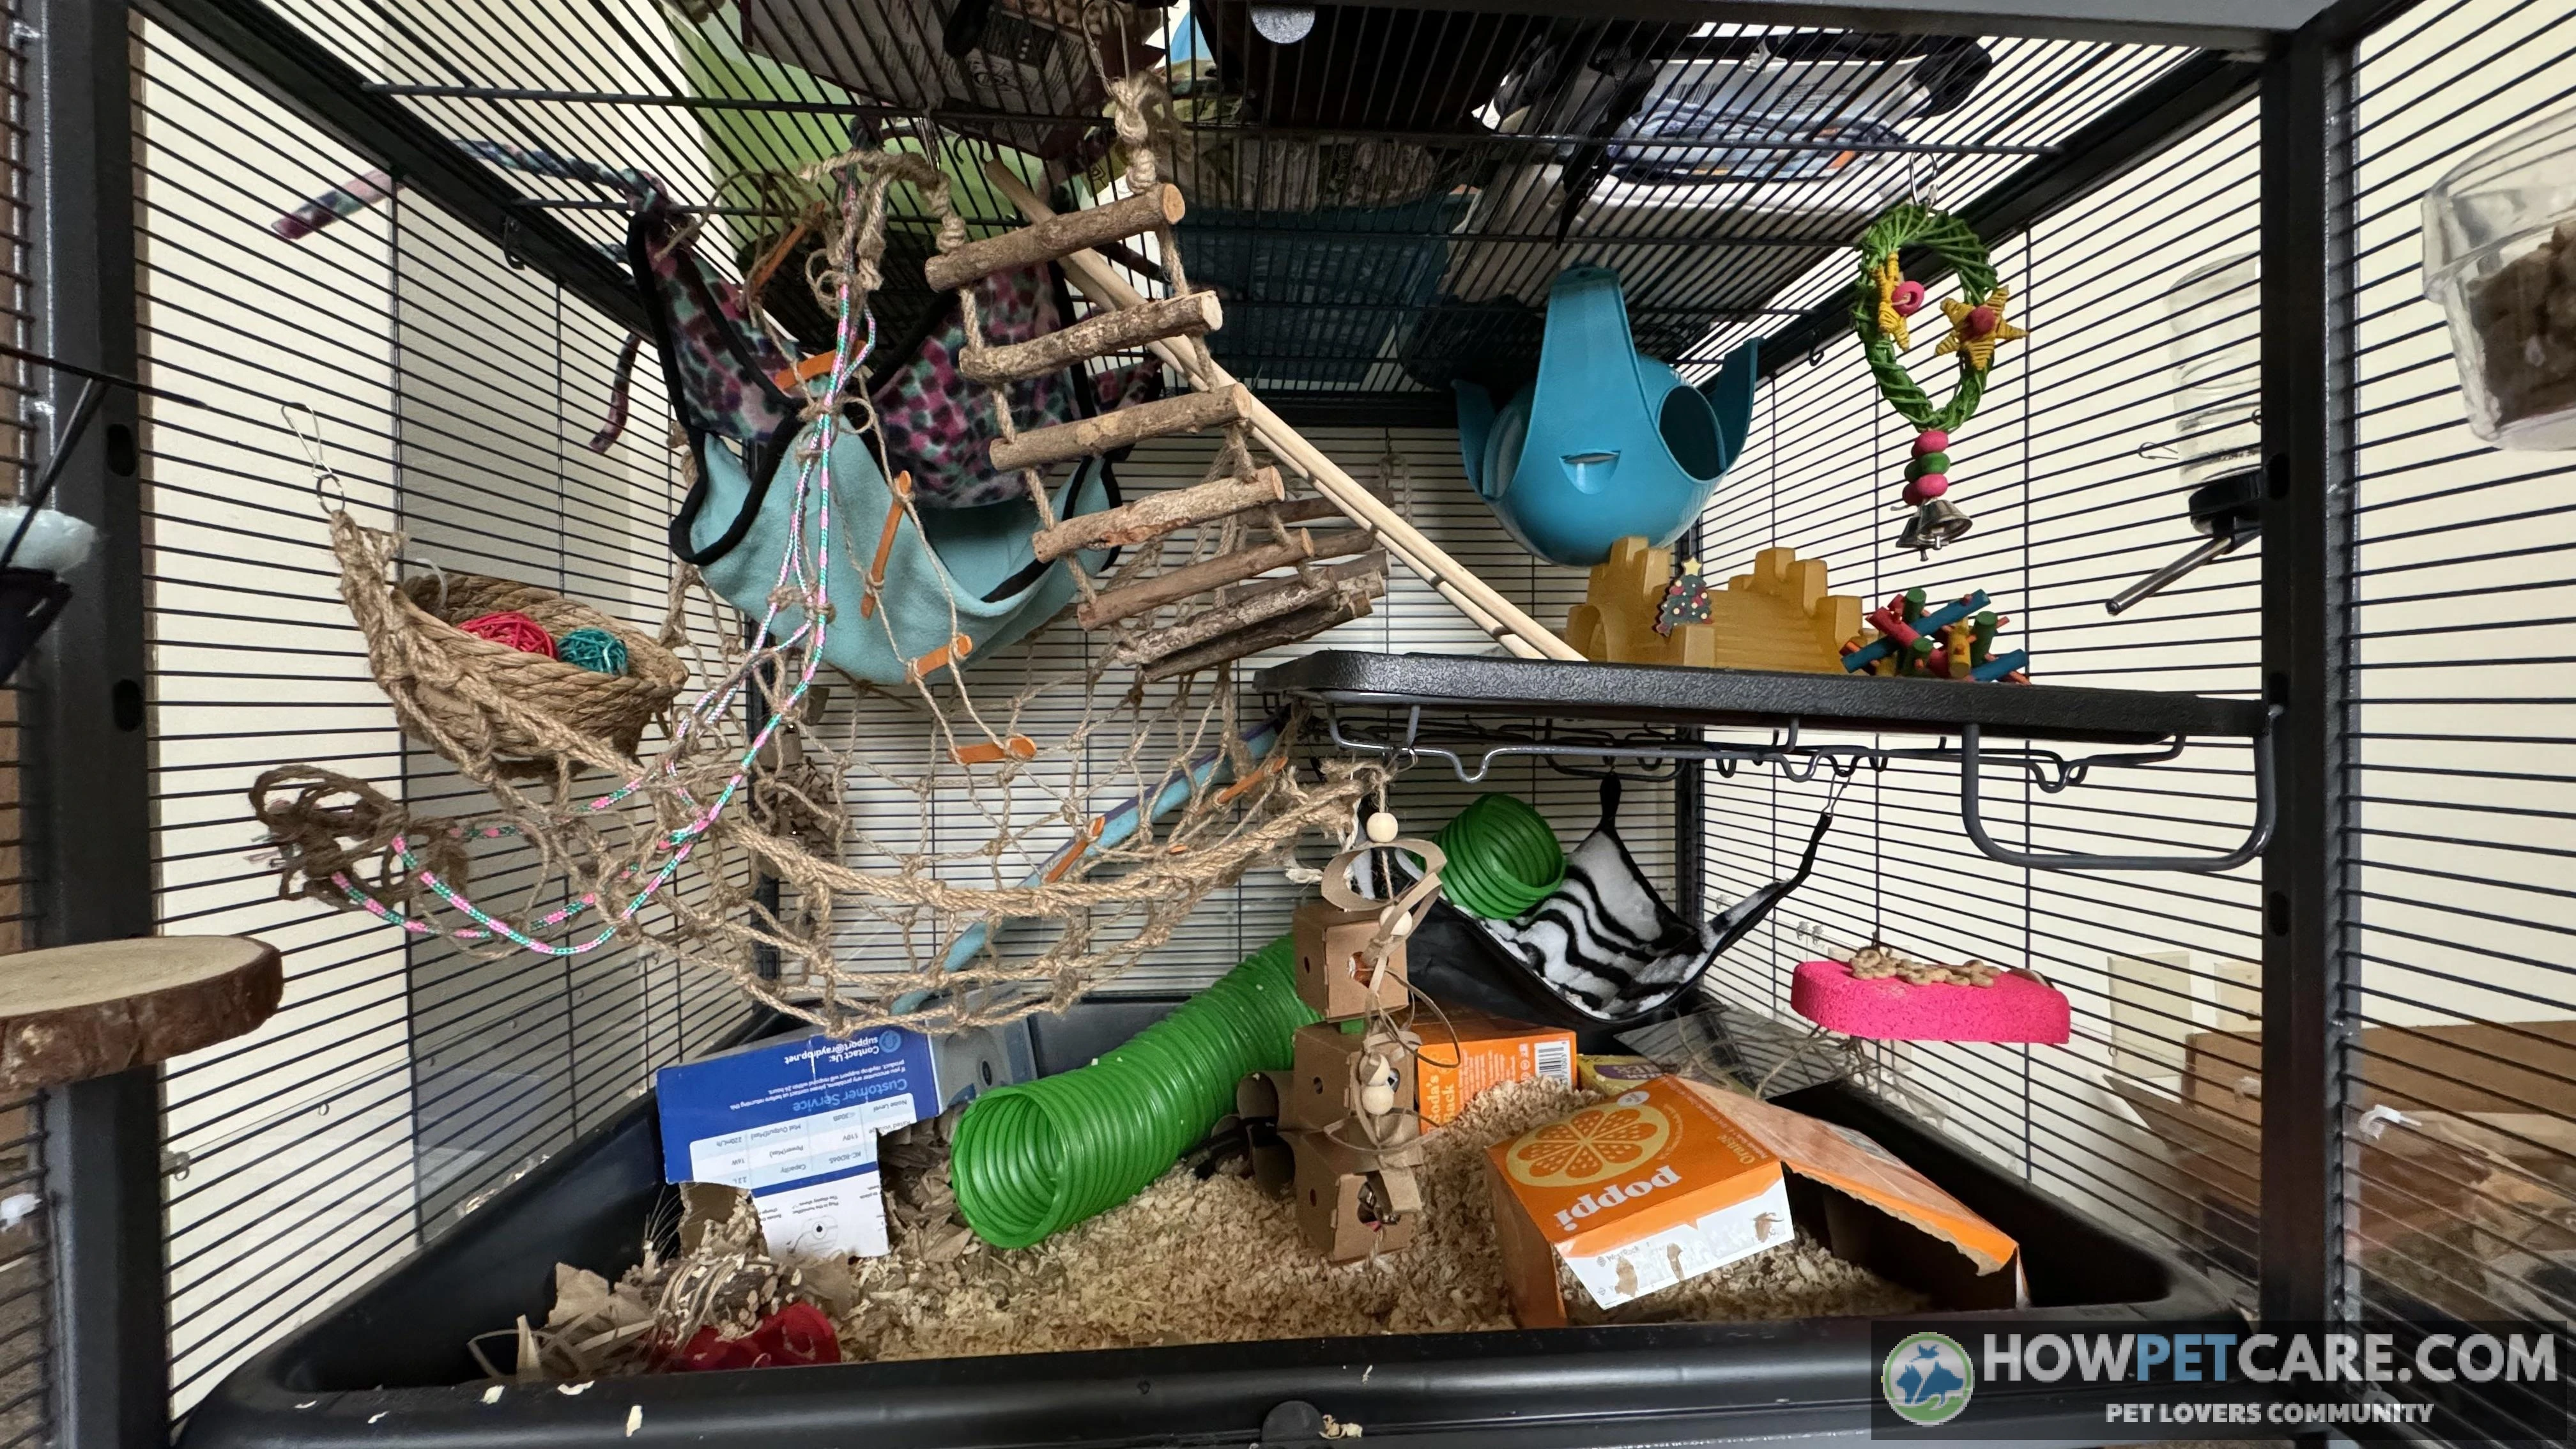
Keep unbroken vertical drops under roughly 12–15 inches. Add hammocks, fleece bridges, or platforms under longer drops so a rat cannot fall the full height of the cage.
Litter training step by step
-
Pick the corner they already use
Watch where your rats urinate for two days. Put the litter pan in that exact corner.
-
Use a different substrate in the pan
Place a thin layer of a different, clumping or absorbent litter in the pan so the texture tells the rats this spot is for waste.
-
Move stray droppings into the pan
Each morning, place any fresh droppings into the litter pan. Rats are clean and usually catch on within a week.
-
Keep the rest clean
If the bedding outside the pan is wet, replace it; clean bedding elsewhere encourages the rats to keep using the pan.
Where to place the cage in your home
Cage placement and ventilation matter. Put the cage in a quiet room where the rats can see household activity without being in the center of it. Avoid direct sunlight, drafts from windows or vents, and heat sources like radiators. Kitchens are a poor choice because cooking fumes and temperature swings stress rat lungs. The ideal room temperature is between 65 and 80 degrees Fahrenheit.

Bedding and Substrate Comparison: Fleece, Paper, Aspen, Hemp, and Coco
Bedding and substrate affect odor, dust, cost, and how much the rats can burrow. The table below compares the five common options.
| Bedding | Cost per month (2 rats, est.) | Odor control | Dust level | Burrowing suitability | Safety notes | Best for |
|---|---|---|---|---|---|---|
| Fleece liner system | ~$5–10 after an initial $25–40 buy | Good if changed 2x/week; poor if left longer | None | Poor alone — needs a dig box | Use an absorbent layer under fleece; no loose threads | Budget-minded, tidy cages, odor-sensitive homes |
| Paper-based bedding | ~$15–25 | Good | Low (quality brands) | Good at 2–3 inches | Avoid scented varieties | Beginners wanting simple, safe bedding |
| Aspen shavings | ~$10–15 | Moderate | Low–moderate | Good | The only safe wood shaving — never cedar or pine; check for dusty batches | Cheapest safe loose substrate, digging boxes |
| Hemp bedding | ~$15–20 | Very good | Very low | Good | Higher upfront cost per bag, but lasts longer per change | Odor-sensitive or allergy-prone households |
| Coco coir / husk | ~$10–15 (dig box only) | Moderate | Low when slightly damp | Excellent | Too damp-prone for whole-cage use; mold risk if soaked | A dedicated dig box, not a full floor substrate |
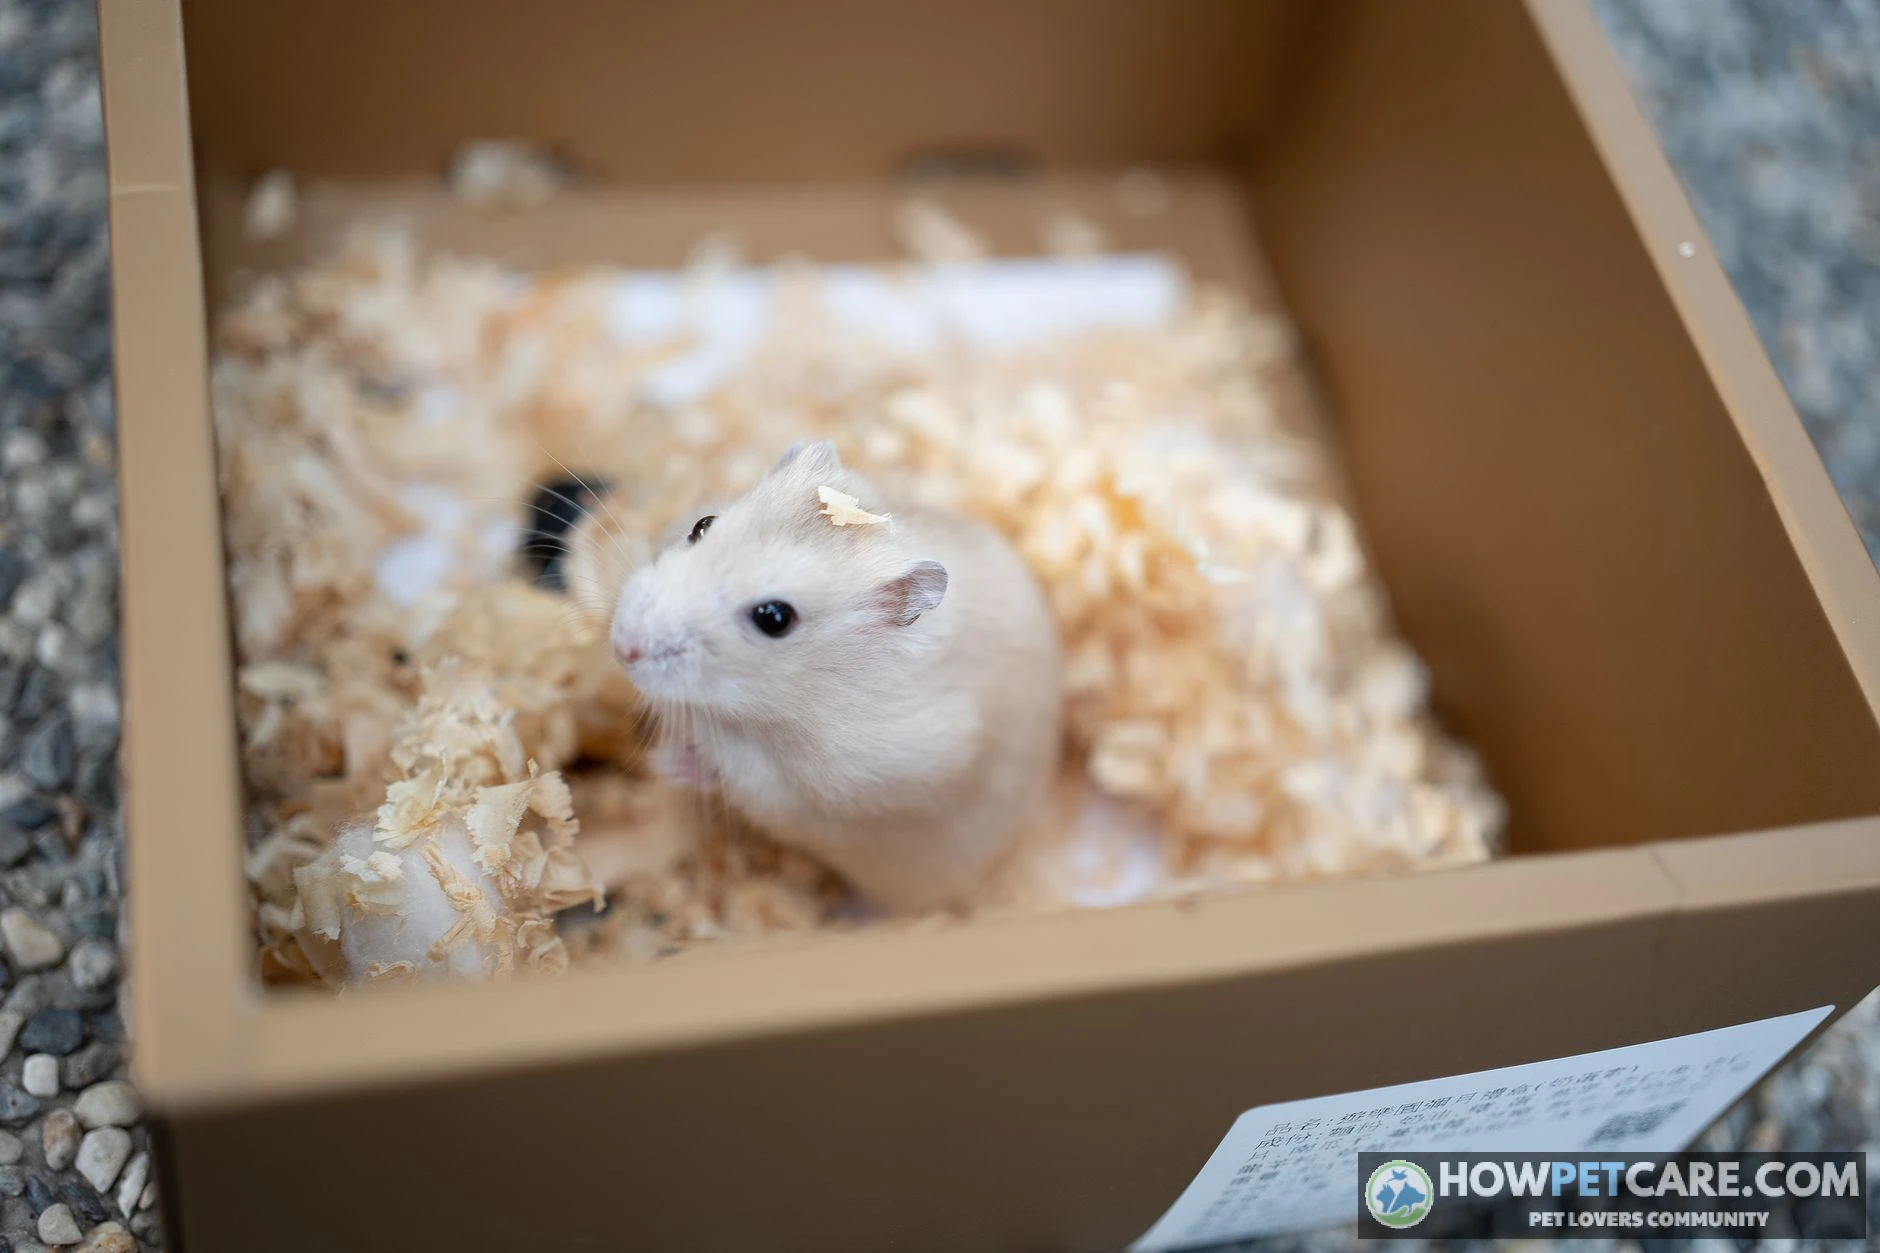
Cedar and pine shavings release aromatic oils that irritate rat airways. Kiln-dried pine is sometimes debated, but the safer rule for beginners is to avoid both and choose paper, aspen, hemp, coco, or fleece.
How much bedding you need and monthly cost
For a full loose-substrate floor, start with 1–2 inches across the cage base and 2–3 inches in a dig zone. A 30 x 18 inch floor with a 2-inch layer needs about 1,080 cubic inches of bedding, which is roughly 20 quarts. Most paper bedding expands to about twice its compressed volume. For a fleece system, you need two full liner sets so one is in the cage while the other is in the wash. The cost estimates above reflect this rotation.
Combining substrates: fleece floors with a dig box
A practical pet rat cage setup on a budget uses fleece liners on the platforms and floor, then a deep tray of aspen, hemp, or coco in the bottom as a dig box. This gives you the easy cleaning of fleece and the natural burrowing behavior rats enjoy. For a fancy rat cage setup that controls odor, swap the dig box substrate weekly and the fleece twice a week.
Step-by-Step Setup Sequence You Can Finish Tonight
This rat cage setup essentials checklist is designed so you can go from an empty cage to ready-for-rats in one evening.
-
Assemble the cage and inspect for safety
Put the cage together, then run your hand over every wire edge, corner, and ramp. Look for sharp wire ends, loose welds, gaps where the tray meets the body, and wobbling shelves. Tighten every screw.
-
Cover wire floors and add bedding
Install solid-floor covers, fleece liners, or clip-on ramp covers. Add 1–2 inches of loose bedding or a full fleece system, then place a 2–3 inch dig box on the cage floor.
-
Install platforms, ramps, and hammocks
Hang hammocks and place hideouts in the upper sleep zone. Add ramps and platforms with no unbroken drop over 12–15 inches.
-
Add food, water, litter, and toys
Put the heavy food bowl on a mid-level platform, attach the water bottle at shoulder height, set the litter pan in the chosen toilet corner, and scatter a few chew toys and ropes.
-
Run the pre-release safety check
Test latches, measure bar spacing, confirm no toxic materials, and verify the water source dispenses correctly before putting rats inside.
Pre-release safety checklist
- ☐ Bar spacing measured at 1/2 inch or less for babies and small females, 3/4 inch max for adults.
- ☐ Latch test passed — every door resists a push or pull; carabiners added to simple slide latches.
- ☐ No exposed wire floors. Every standing surface is solid or covered.
- ☐ Chewable plastic tray edges and shelf lips inspected; exposed edges lined or monitored.
- ☐ No dangling fibers, loose threads, or loops small enough to catch a foot.
- ☐ No unbroken vertical drop over roughly 12–15 inches.
- ☐ No cedar, pine, or scented bedding; no sharp wire ends.
- ☐ Water bottle or bowl tested and dispensing.
- ☐ Cage placed between 65 and 80 degrees Fahrenheit, out of direct sun, drafts, and kitchen fumes.
Check every item the first time you set up, and re-check items 1 through 4 after any deep clean or reassembly. Bar spacing and latches are the most common first-night escape points.
Minimum vs ideal budget breakdown
For a pet rat cage setup on a budget, expect to spend roughly $80–$120 on the cage, $15–$25 on an initial bedding supply, and $30–$50 on bowls, a water bottle, hammocks, and a few toys. The total minimum for two rats is about $125–$175. An ideal setup with a larger cage, a fleece liner rotation, a dig box, and extra enrichment lands around $250–$400 in the first month. Ongoing costs are mostly bedding and replacement toys, roughly $15–$40 per month depending on bedding type.
What to put in a pet rat cage: essentials checklist
For two rats, here is what to put in a pet rat cage to start:
- One cage meeting the size and spacing rules above.
- Bedding: one initial bag or a two-set fleece liner rotation.
- One heavy ceramic or stainless-steel food bowl.
- One water bottle or heavy water bowl.
- One litter pan and a small bag of rat-safe litter.
- Two hammocks or hideouts and nesting boxes.
- One dig box or deep tray.
- Three to five chew toys and ropes.
- A few fleece scraps or paper nesting material.
Cleaning Schedule and Ammonia Thresholds: Keep Odor Under Control
A rat cage setup is not finished until you have a cleaning routine. "Clean regularly" is not a plan. Use a daily, weekly, and monthly schedule, and treat any detectable ammonia smell as an alarm.
A day-by-day weekly cleaning routine
The one rule that overrides everything: if you can smell ammonia, it is already too high for rat lungs — detectable odor means roughly the 25 ppm range where respiratory irritation is a real concern. Treat smell as an alarm, not a normal state. Ammonia test strips are a cheap way to verify if you are unsure.
Daily (under 5 minutes, pick a fixed time like morning feeding):
- Scoop the litter pan / toilet corner and any wet bedding patches.
- Refresh water bottle or wash and refill the bowl.
- Remove leftover fresh food (veggies, wet food) before it spoils.
Wednesday (about 15 minutes):
- Swap or shake out the toilet-zone bedding entirely.
- Wipe down platforms and shelves with diluted white vinegar or a pet-safe spray.
- Check hammocks and fleece for urine staining — pull for wash if damp or smelly.
Saturday or Sunday (30–45 minutes):
- Replace all loose bedding OR swap fleece liners for the spare set.
- Machine-wash hammocks, ropes, and fleece (unscented detergent, no fabric softener).
- Wipe the base tray, bars, and ramp covers.
- Reassemble, then re-check latches and fabric edges.
Once a month (about an hour):
- Full breakdown: remove everything, disinfect the tray and bars with a pet-safe disinfectant or diluted vinegar solution, rinse and dry fully.
- Inspect chewed plastic, worn ropes, and cracked bowls; replace what is failing.
- Wash or replace the dig-box substrate entirely.
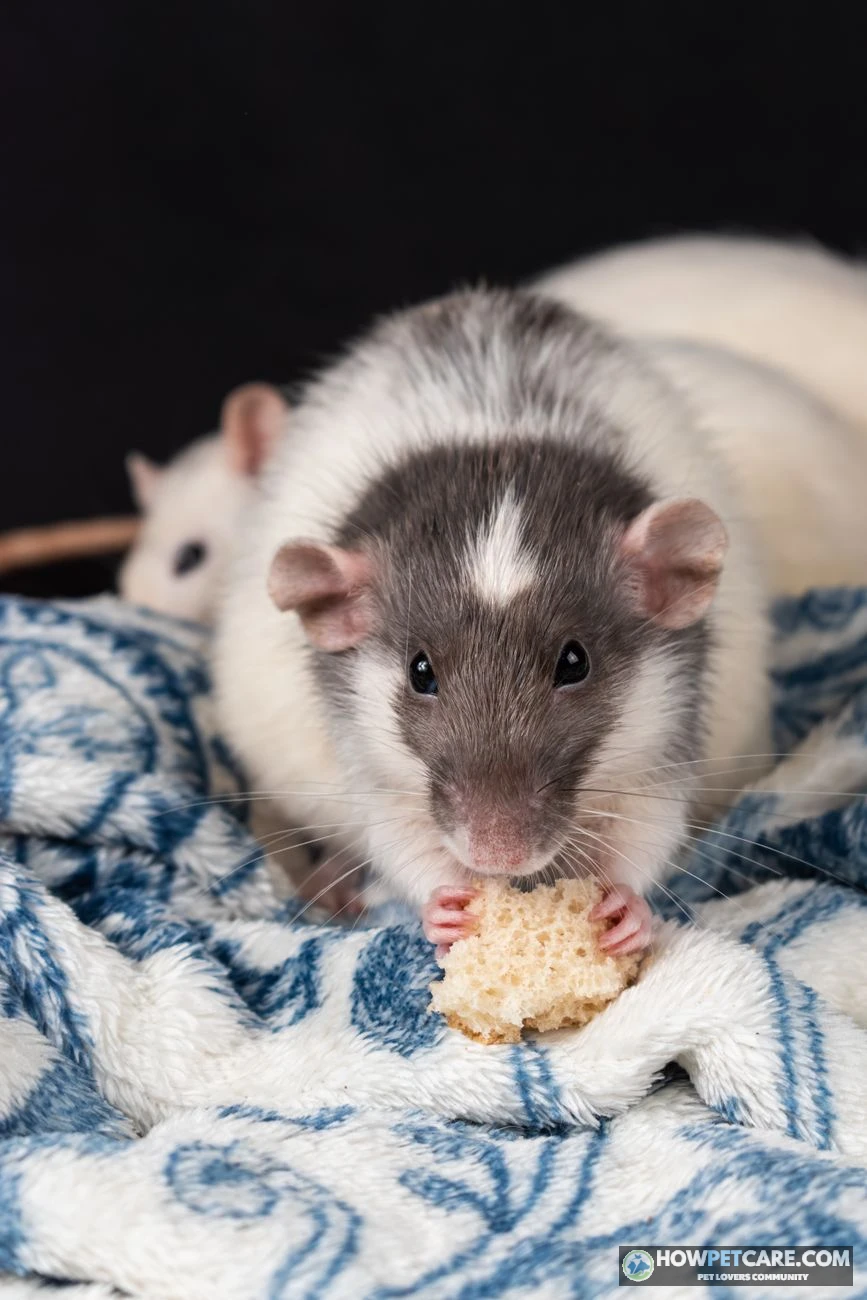
What ammonia does to rat lungs and how to spot it
If you can smell ammonia when you stand near the cage, the level is already too high at the rats’ nose level. A detectable ammonia odor is commonly cited as reaching around the 25 ppm range, where respiratory irritation becomes a real concern for rats. Ammonia test strips or a small monitor can verify this, but your nose is enough of a trigger. Chronic exposure damages the respiratory tract and increases susceptibility to infection.
If you can smell ammonia, the level is already too high for rat lungs. Treat smell as an alarm, not a normal state. Clean immediately and increase ventilation or spot-clean frequency.
Fixing a smelly cage
If the cage still smells after cleaning, the usual causes are:
- urine-soaked bedding left too long;
- a litter pan placed far from where the rats actually urinate;
- fleece left unchanged for more than three or four days;
- poor room ventilation; or
- too many rats for the cage size.
Move the litter pan to the rats’ chosen corner, increase the number of hammocks so urine is distributed, switch to a more absorbent bedding, and clean the toilet corner twice daily if needed.
Special-Case Setups: Babies, Seniors, Large Groups, and Quarantine Cages
The standard pet rat cage setup for beginners changes for special situations. Adjust the layout before the rats move in.
Baby rat setup
Baby rats need 1/2 inch or smaller bar spacing. If your cage has wider spacing, use a temporary bin or smaller wire cage until the babies grow. Lower the platforms and use shallow ramps to reduce falls. Babies are active but clumsy, so add extra fleece hammocks as landing spots.
Senior and mobility-impaired rat setup
Older rats or rats with hind-leg weakness need a mostly single-level layout. Keep food, water, and a soft sleeping hideout on the same level. Use gentle, wide ramps with a shallow angle. Cover every surface with fleece or soft bedding to cushion feet. Avoid tall drops and remove upper hammocks if the rat cannot climb safely.
Large group setup
Groups of four or more rats need more than just extra cubic feet. They need more resources to prevent squabbles. Add at least one food bowl and one water source per two rats, plus one hideout or hammock per rat so no one is forced to sleep in the open. Increase the cage size by roughly 2.5 cubic feet per additional rat, and watch for chasing or hiding that suggests crowding. More rats also mean more ammonia, so spot-clean the toilet corner twice daily and consider a more absorbent bedding such as hemp.
Quarantine and temporary cage setup
For new rats, sick rats, or introductions, use a quarantine cage that is smaller and easy to clean. A wire hamster cage with 1/2 inch spacing or a well-ventilated bin cage works for one to two weeks. Furnish it with one hideout, one food bowl, one water bottle, a shallow dig tray, and a single hammock. Spot-clean daily and replace bedding every two to three days. Upgrade to the full cage once the quarantine period ends.
Your Cage Setup Plan: Decisions, Checklist, and Next Steps
By now you have the pieces for a complete rat habitat setup. Use this decision path:
- Pick the cage size by rat count. For two rats, aim for about 9 cubic feet. For each additional rat, add roughly 2.5 cubic feet of usable space.
- Confirm bar spacing. 1/2 inch for babies and small females; 3/4 inch max for adults.
- Choose bedding by budget and odor needs. Paper or aspen for beginners; hemp for odor-sensitive homes; fleece with a dig box for easy cleaning.
- Zone the interior. Sleep up high, feed mid-level, play and dig at the bottom, toilet in the chosen corner.
- Run the pre-release checklist. Measure, latch-test, cover wire floors, test water, and check placement.
- Set a cleaning reminder. Daily scoop, weekly bedding change, monthly full disinfection.
In the first week, watch where the rats urinate and move the litter pan to match. Check for chewing around the tray edges and door latches each night. Adjust platforms if any rat is falling or hesitant to climb. A well-set-up rat cage makes the rest of rat ownership — handling, free-roam time, and health monitoring — far easier.
 You might be wonderingRat bogglingRat Boggling: What It Looks Like and When to WorryRead the answer
FAQ
How many rats should live in one cage?
Rats are social, so keep at least two of the same sex together. The cage must scale with the group, with about 2 cubic feet or more per rat as a commonly recommended guideline.
Can pet rats live in a glass tank?
It is not recommended for long-term housing. Tanks have poor airflow, trap ammonia, and limit climbing, so a multi-level wire cage is the safer choice.
Why does my rat’s cage smell even after cleaning?
Usually the cause is urine-soaked bedding left too long, a poorly placed toilet area, or poor airflow. If you can smell ammonia, clean sooner and spot-clean daily.
Do rats need a wheel or other toys in the cage?
Rats need enrichment, but not necessarily a wheel. If you add one, choose a solid-surface wheel of about 11-12 inches, and add chew toys, ropes, and a dig box.
Is it okay to use cedar or pine shavings?
No. Cedar and pine release aromatic oils that can irritate rat airways, so choose paper, aspen, hemp, coco, or fleece.